
Silence your world master mass loaded vinyl installation
How to install mass loaded vinyl is a question many homeowners ask when seeking noise reduction solutions. This heavy-duty vinyl material effectively absorbs sound by converting it into heat energy. Installing mass loaded vinyl requires careful preparation and precise techniques.
First, ensure the surface is clean and free from debris. Then, measure the area to be covered and cut the mass loaded vinyl to size. Use an appropriate adhesive to secure the material to the surface, ensuring a tight and smooth application. After installation, allow adequate drying time before applying any finishing touches.
install mass loaded vinyl like a pro
Getting Started with Mass Loaded Vinyl Installation
Mass loaded vinyl (MLV) is a fantastic material for soundproofing, offering significant noise reduction without adding too much bulk. Whether you’re aiming to reduce noise transmission from a busy street, a noisy neighbor, or simply enhance the acoustics of your home studio, MLV is a versatile and effective solution.
But installing MLV can seem intimidating, especially if you’re new to DIY projects. Don’t worry! This guide will walk you through the process step by step, equipping you with the knowledge and confidence to tackle your own MLV installation project.
Understanding Mass Loaded Vinyl
Before diving into the installation process, let’s understand what MLV is and why it works so well. Mass loaded vinyl is a dense, flexible material typically composed of a vinyl sheet loaded with lead or barium sulfate. This density is the key to its soundproofing capabilities.
How MLV Works:
- Mass Law: The effectiveness of MLV stems from the principle of “mass law.” Simply put, heavier materials absorb more sound energy. The denser MLV is, the better it absorbs and dampens sound waves.
- Noise Reduction: By blocking sound waves from passing through, MLV effectively reduces noise transmission, making it ideal for applications like soundproofing walls, ceilings, floors, and even doors.
Essential Tools and Materials for Installing Mass Loaded Vinyl
Before embarking on your installation journey, gather these essential tools and materials:
Tools:
- Measuring Tape: To accurately measure the area you’ll be covering.
- Utility Knife: For precise cutting of MLV sheets.
- Scissors: For trimming smaller pieces of MLV.
- Roller or Squeegee: To smooth out the MLV and remove any air bubbles during application.
- Safety Gloves: Protect your hands from the potential dust and debris.
Materials:
- Mass Loaded Vinyl Sheets: Choose the appropriate thickness and size based on your project’s specific needs.
- Adhesive: A high-quality construction adhesive suitable for MLV is necessary.
- Framing Clips or Soundproof Batons: These will help to create an air gap behind the MLV, enhancing its effectiveness.
Preparing the Installation Area
A clean and well-prepared surface is crucial for a successful MLV installation. Follow these steps:
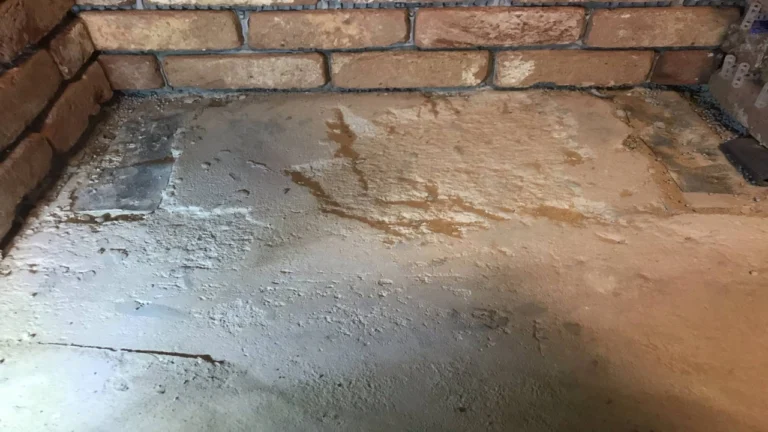
- Clean the Area: Remove dust, debris, and any loose materials from the surface you’ll be working with.
- Inspect and Repair: Examine the surface for cracks, holes, or imperfections. Repair these issues before installing MLV for optimal results.
- Measure the Area: Carefully measure the area you intend to soundproof. This will ensure you purchase the right amount of MLV and avoid unnecessary waste.
Installing Mass Loaded Vinyl: A Step-by-Step Guide
Now, let’s dive into the actual installation process. This guide assumes you’re installing MLV to a wall. The process can be adapted for other surfaces, such as ceilings or floors, with minor adjustments.
Step 1: Applying Adhesive
- Apply a generous layer of construction adhesive to the wall surface, using a trowel or a paint roller. Ensure even coverage across the entire area.
- For optimal adhesion, allow the adhesive to cure slightly, following the manufacturer’s instructions. This step can help prevent the MLV from sliding while you’re working.
Step 2: Installing the MLV
- Starting from one edge, carefully position the first MLV sheet on the adhesive-covered wall.
- Gently press the MLV against the wall, ensuring good contact with the adhesive.
- Use a roller or squeegee to smooth out the MLV, removing any air bubbles trapped between the sheet and the wall.
Step 3: Overlapping MLV Sheets
- For a seamless soundproofing barrier, overlap each subsequent MLV sheet by at least 2 inches (5 cm). This creates a continuous layer with minimal gaps for sound to escape.
- Secure the overlapping edges with additional adhesive or fastening clips.
Step 4: Installing Soundproof Batons
- If you’re aiming for a high level of soundproofing, consider installing framing clips or soundproof batons behind the MLV. These elements create an air gap, further reducing sound transmission.
- Attach the batons or clips to the wall using appropriate screws or nails.
Step 5: Finishing Touches
- Once the MLV is fully installed, allow the adhesive to cure completely, as recommended by the manufacturer. This ensures optimal adhesion and stability.
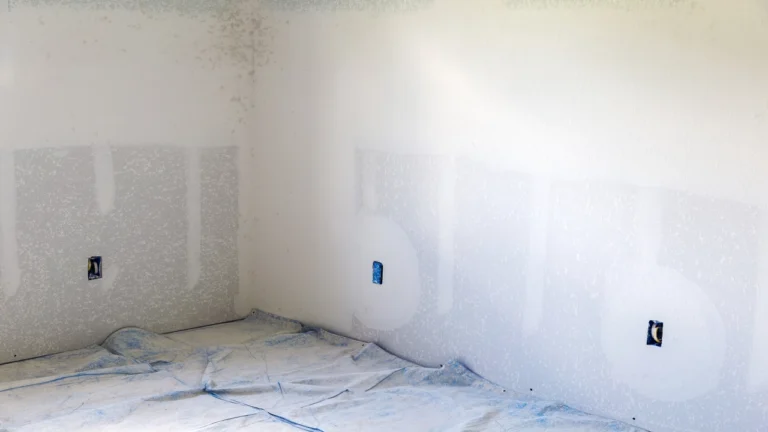
- If desired, apply a layer of drywall compound or spackling over the seams of the MLV sheets for a smooth, finished look.
Additional Tips for Success
- Consider the Project’s Scope: For larger projects, installing MLV sheets in sections can make the process more manageable.
- Safety First: Wear gloves and eye protection to protect yourself from potential dust and debris.
- Ventilation: Ensure adequate ventilation while working with adhesives to avoid harmful fumes.
- Professional Help: If you’re unsure about any part of the installation process, or if your project requires intricate work, consider consulting a professional soundproofing expert.
Frequently Asked Questions (FAQs)
- “How do I install mass loaded vinyl on a ceiling?”
- Installing MLV on a ceiling requires careful preparation and proper support. You’ll need to install furring strips or joists to create a flat surface for the MLV to adhere to. Use appropriate adhesives and ensure the ceiling is properly reinforced.
- “Can I install mass loaded vinyl on a door?”
- Yes, MLV can be installed on doors for soundproofing. It’s best to use a lightweight adhesive to prevent damage to the door. Consider adding extra weight to the door to improve sound isolation.
- “How do I seal the edges of mass loaded vinyl?”
- Sealing the edges of MLV is crucial to prevent sound leaks. You can use acoustical sealant, caulking, or weatherstripping to create a tight seal.
- “What are the best adhesives for installing mass loaded vinyl?”
- Look for construction adhesives specifically designed for soundproofing applications. These adhesives should be strong, durable, and provide excellent adhesion to MLV.
How to install mass loaded vinyl is a common search query. By following these steps and incorporating the advice from this article, you can effectively soundproof your home or workspace using mass loaded vinyl.
Remember, patience and careful planning are key to a successful installation. Take your time, review the instructions, and don’t hesitate to seek assistance if needed. Your efforts will be rewarded with a quieter, more peaceful environment.
is this the easiest way to install mass loaded vinyl
Installing mass loaded vinyl can be a great way to improve soundproofing in your home or studio. But if you’re not familiar with the process, it can seem daunting. This article will guide you through installing mass loaded vinyl like a pro, covering everything from choosing the right material to finishing touches.
Understanding Mass Loaded Vinyl
Mass loaded vinyl (MLV) is a sound-absorbing material often used for soundproofing walls, floors, and ceilings. It’s made of a dense vinyl sheet filled with heavy materials like lead or barium. The weight of the material is what makes it effective at absorbing sound. When sound waves hit the MLV, they are absorbed rather than reflected back, reducing noise transmission.
Choosing the Right Mass Loaded Vinyl
To find the right MLV for your project, consider the following factors:
- Density: Density is measured in pounds per square foot (psf). Higher density MLV offers greater sound absorption.
- Thickness: Thicker MLV provides better sound absorption.
- Fire Rating: Ensure the MLV you choose meets local fire safety codes.
Essential Tools for Installing Mass Loaded Vinyl
Before you start installing mass loaded vinyl like a pro, you’ll need the right tools. Here’s a list of what you’ll need:
- Measuring tape
- Utility knife
- Scissors
- Staple gun
- Staples
- Safety goggles
- Gloves
Step-by-Step Guide to Installing Mass Loaded Vinyl
Now, let’s dive into the actual installation process:
1. Preparation
- Clean the surface: Before you install your MLV, ensure the surface is clean and free of debris. This will help the MLV adhere properly.
- Measure the area: Use a measuring tape to determine the exact dimensions of the area you want to soundproof.
- Cut the MLV: Cut the MLV to size using a utility knife or scissors. Remember to add a small amount of extra material for overlapping seams.
2. Installation
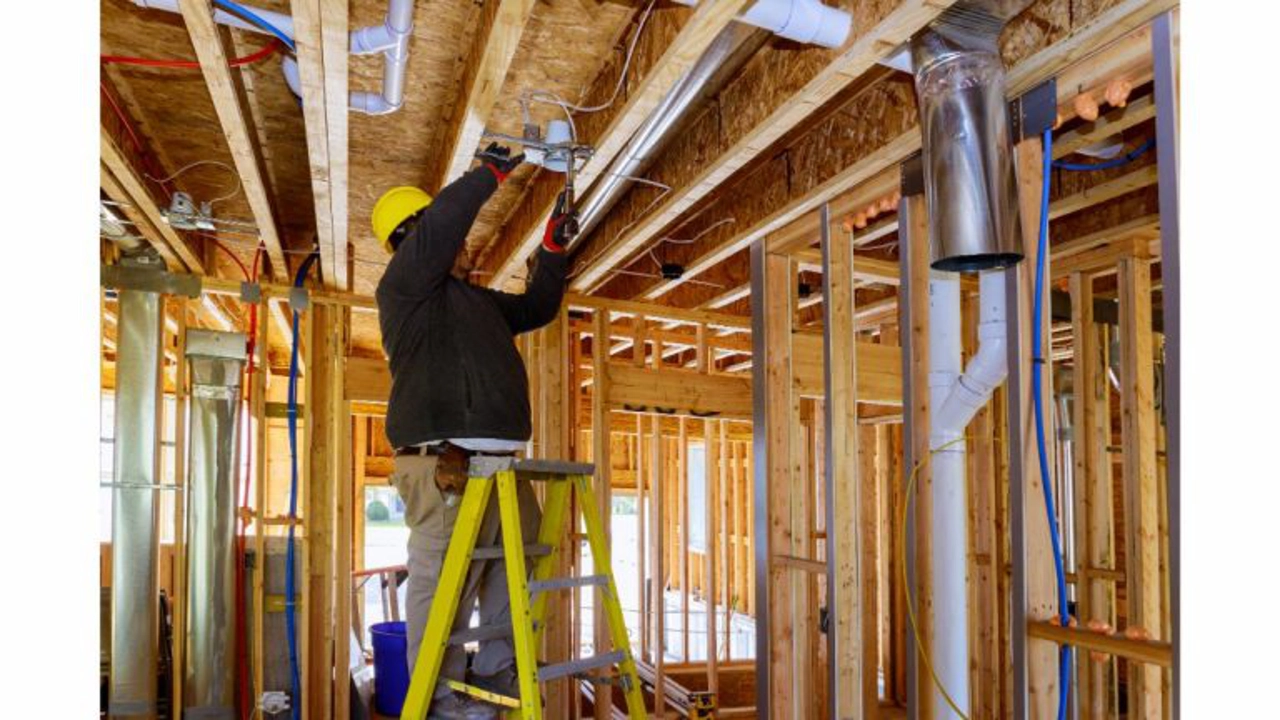
- Attaching the MLV: For walls, staple the MLV directly to the studs using a staple gun. Make sure the staples are secure and spaced evenly. For ceilings, use construction adhesive or specialized clips.
- Overlapping seams: When installing multiple pieces of MLV, overlap the edges by at least 6 inches. Use a utility knife to trim any excess material.
3. Finishing Touches
- Adding insulation: You can further improve soundproofing by adding insulation behind the MLV.
- Covering the MLV: Once the MLV is in place, you can cover it with drywall, plaster, or another material to create a finished look.
Tips for Installing Mass Loaded Vinyl Like a Pro
Here are some helpful tips to keep in mind as you work:
- Wear safety glasses and gloves: This is essential for protecting your eyes and hands.
- Take your time: Installing MLV is a detailed process, so don’t rush it.
- Ensure proper adhesion: Use a quality adhesive or staples for secure attachment.
- Be creative: Get creative with your soundproofing project. You can use MLV in various ways to create different sound absorption levels.
Other Ways to Soundproof Your Home
Installing mass loaded vinyl like a pro is just one of many ways to soundproof your home. Other options include:
- Adding acoustic panels: Panels are a popular solution for absorbing sound reflections.
- Using acoustic foam: Acoustic foam is a cost-effective way to reduce echoes and improve sound quality.
- Soundproofing doors and windows: Use weatherstripping and acoustic seals to prevent sound from entering through gaps in doors and windows.
Conclusion
Installing mass loaded vinyl is a great way to achieve effective soundproofing in your home or studio. By following these steps and tips, you can achieve professional-quality results. Remember to choose the right material, gather the necessary tools, and approach the installation process with patience and precision.
Q&A: Installing Mass Loaded Vinyl
Q1: What is mass loaded vinyl (MLV) and what’s it used for?
A1: Mass loaded vinyl is a dense, flexible material that’s used to block sound transmission. It’s often used in soundproofing applications, such as:
- Soundproofing walls and ceilings: To reduce noise from adjoining rooms or from outside.
- Soundproofing doors and windows: To reduce noise from outside or from other rooms.
- Soundproofing recording studios and home theaters: To create a quieter and more acoustically balanced environment.
Q2: What are the advantages of using MLV for soundproofing?
A2: MLV offers several advantages:
- High sound absorption: MLV’s dense composition effectively absorbs sound waves, reducing noise levels.
- Easy to install: MLV is flexible and can be easily cut and installed.
- Cost-effective: MLV is generally more affordable than other soundproofing materials like acoustic panels.
- Durable: MLV is long-lasting and resistant to wear and tear.
Q3: How do I install mass loaded vinyl?
A3: Installation steps typically include:
- Measure and cut: Measure the area you want to soundproof and cut the MLV to size.
- Secure the MLV: Use adhesive, staples, or clips to attach the MLV to the wall, ceiling, door, or window.
- Add additional layers: You may want to add a layer of drywall or other soundproofing material over the MLV for greater noise reduction.
Q4: What are the common tools and materials needed for installing MLV?
A4: You’ll need:
- MLV rolls or sheets
- Measuring tape
- Utility knife
- Scissors or shears
- Staple gun (optional)
- Adhesive (optional)
- Drywall screws (optional)
- Drywall (optional)
Q5: How much MLV do I need for a specific project?
A5: The amount of MLV you need will depend on the size of the area you’re soundproofing and the desired level of sound reduction. It’s best to calculate the square footage and add an extra 10-20% for waste.
Q6: Can I install MLV myself, or do I need a professional?
A6: You can often install MLV yourself, especially for smaller projects. However, for larger or more complex projects, it’s advisable to consult a professional soundproofing contractor to ensure proper installation.
Q7: How do I know if my MLV installation is effective?
A7: You can test the effectiveness of your MLV installation by:
- Measuring sound levels before and after installation: Using a sound level meter.
- Comparing noise levels with other rooms: Notice if the noise levels in the soundproofed room are significantly lower than in other rooms.
- Subjective listening tests: Pay attention to how much quieter the soundproofed room feels.
Q8: What are some common mistakes to avoid when installing MLV?
A8: Avoid:
- Using too little MLV: Insufficient thickness can reduce sound absorption.
- Failing to seal gaps: Gaps between MLV and surrounding surfaces can allow sound to leak through.
- Improper installation techniques: Using the wrong adhesives or installation methods can reduce effectiveness.
Q9: Where can I buy mass loaded vinyl?
A9: You can find MLV at various stores, including:
- Home improvement stores: Home Depot, Lowe’s, etc.
- Online retailers: Amazon, eBay, etc.
- Soundproofing specialty stores
Q10: What are some tips for getting the best results from MLV?
A10: To maximize the effectiveness of MLV:
- Install in multiple layers: Adding layers of MLV increases sound absorption.
- Combine with other soundproofing materials: MLV can be used in conjunction with other materials like acoustic foam or sound-absorbing panels.
- Seal all gaps and seams: Using acoustic sealant to close any gaps or openings.
- Ensure a tight fit: Tightly attaching MLV to the surface will prevent sound leakage.
Conclusion
Installing mass loaded vinyl is a relatively straightforward process that can significantly improve noise reduction in your home or workspace. By following the steps outlined in this post, you’ll be well on your way to enjoying a quieter and more peaceful environment. Remember to choose the right type of MLV for your needs, use appropriate tools, and take your time to ensure a secure and effective installation.
We hope this guide has been helpful in understanding the process of installing mass loaded vinyl. Let us know in the comments below if you have any questions or tips to share. We’d also love to hear your experiences with soundproofing your space! Don’t forget to share this post with your friends and family who might be interested in learning more about soundproofing their homes.