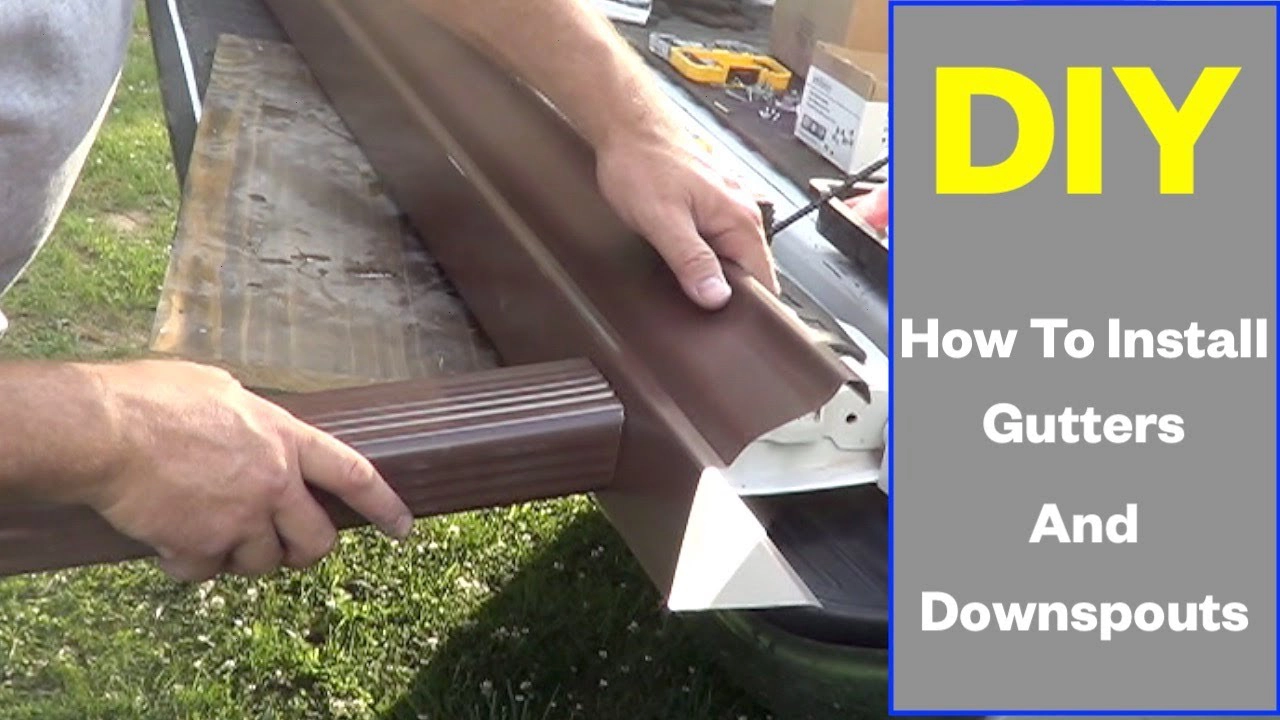
Master gutter downspout installation your diy guide
How to install gutter downspout is a common homeowner task that can be accomplished with the right tools and a little know-how. The first step is to choose the right downspout for your needs. Consider the size and material of your gutters, as well as the amount of water they are expected to carry. Once you have chosen a downspout, you will need to cut it to the desired length. The next step is to install the downspout to your gutter and extend it to the ground. Ensure a secure connection between the gutter and downspout, and utilize a downspout elbow if necessary to direct the water away from your foundation.
how to install gutter downspouts the ultimate guide
Installing gutter downspouts is an essential part of maintaining a healthy roof and foundation. It directs rainwater away from your home, preventing damage and erosion. While it might seem daunting, installing downspouts is a DIY project that many homeowners can tackle with the right tools and instructions. This guide will walk you through the process step-by-step, helping you confidently answer the question “how to install gutter downspout.”
1. Gathering Your Tools and Materials
Before you begin, ensure you have all the necessary tools and materials.
- Downspouts: Choose downspouts made of aluminum, vinyl, or copper, matching your existing gutters. They come in different lengths and diameters.
- Elbows: These are used to change the direction of the downspout. You might need 90-degree or 45-degree elbows depending on your needs.
- Straps: Secure the downspouts to the house using downspout straps. These come in various styles, such as clips or hangers.
- Extension: If your downspout needs to be extended, you’ll need an extension piece.
- Level: Ensure your downspout is installed vertically and plumb using a level.
- Measuring Tape: This helps determine the correct length of downspouts and extensions.
- Scissors or Tin Snips: For cutting downspout materials.
- Screwdriver: To secure the straps and elbows to the downspout.
- Drill: To create pilot holes for the straps and elbows.
- Caulk: To seal any gaps between the downspout and the house.
- Safety Gear: Wear safety glasses and gloves to protect yourself.
2. Choosing the Right Location for Your Downspout
The location of your downspout is critical. It needs to direct water away from your foundation and landscaping. Ideally, you want the water to flow into a drainage system, like a storm drain or a dry well.
- Avoid directing the water towards your foundation: This can lead to water damage, foundation cracks, and basement flooding.
- Consider the landscaping: Avoid directing water towards delicate plants or flower beds.
- Choose a spot that is accessible for cleaning and maintenance: You’ll want to be able to easily access the downspout to clean debris or clear any blockages.
3. Installing the Downspout
Start by finding the lowest point on your gutter run: This is usually the end of the gutter closest to your house.
Attach the downspout to the gutter using the downspout connector: These connectors come in different styles, so refer to your manufacturer’s instructions.
Secure the downspout to the house using straps: Make sure the straps are placed at least every 4 feet to ensure the downspout is properly supported.
Add elbows to change the direction of the downspout: If necessary, use elbows to direct the water away from your house.
Attach an extension if needed: If the downspout needs to be extended to reach the desired drainage point, use an extension piece and secure it to the existing downspout.
4. Finishing Touches and Maintenance
Once your downspout is installed, there are a few final steps to ensure its functionality and longevity.
Seal any gaps with caulk: This will help prevent water from leaking out of the downspout and seeping into your foundation.
Check for leaks: Run water through the gutter and downspout to check for any leaks.
Clean and maintain your downspouts regularly: Remove any debris or blockages to ensure the water flows freely. This will help prevent clogs and overflow, which can cause damage to your home.
5. Additional Tips for Installing Gutter Downspouts
- Consider hiring a professional: If you’re not comfortable with DIY projects, it’s always best to hire a professional to install your gutter downspouts.
- Use the right tools and materials: Don’t use cheap or low-quality materials, as this will only lead to problems down the line.
- Take your time: Don’t rush the installation process. Carefully follow the instructions and take your time to ensure the downspout is properly installed.
6. How to Install Gutter Downspout: Additional Related Search Queries
Here are some other helpful keywords and questions that people use while searching for information on installing gutter downspouts:
- How to install a downspout extension?
- How to install a downspout elbow?
- How to install a downspout without a gutter?
- How to install a downspout on a brick house?
- How to install a downspout on a metal roof?
- How to install a downspout on a vinyl siding?
- How to install a downspout on a sloped roof?
- How to install a downspout on a flat roof?
- How to install a downspout on a shed?
- How to install a downspout on a porch?
Installing gutter downspouts is a relatively straightforward project that can improve your home’s drainage and prevent costly damage. By following these steps and using the right tools and materials, you can confidently tackle this task and make your home more secure and weather-resistant. Remember to prioritize safety and take your time. If you’re unsure about any steps, consult with a professional for help.
is your downspout draining your home s foundation
Installing gutter downspouts might seem like a daunting task, but with the right tools and guidance, it’s a project even DIY enthusiasts can tackle. This comprehensive guide will walk you through the process step by step, answering common questions and offering tips for a successful installation.
Planning Your Downspout Installation
Before you dive in, proper planning is crucial. Consider the following:
- Downspout Placement: Decide where you want the water to drain. Ideally, it should flow away from your foundation, preventing water damage.
- Downspout Size: The size of your downspouts should match your gutters. Generally, 2×3 inch downspouts are sufficient for most homes.
- Downspout Material: Downspouts come in a variety of materials, including aluminum, copper, vinyl, and galvanized steel. Choose a material that complements your gutters and home’s exterior.
- Downspout Accessories: You’ll likely need elbows, extensions, splash guards, and other accessories to customize your installation.
Gathering the Necessary Tools
Once you’ve planned your installation, gather the following tools:
- Measuring Tape: To measure the length of your downspouts and accessories.
- Level: To ensure your downspouts are installed straight.
- Scissors or Tin Snips: To cut downspout sections.
- Screwdriver: To secure downspout components.
- Drill: To drill pilot holes for screws.
- Safety Glasses: To protect your eyes from debris.
- Work Gloves: To protect your hands while working.
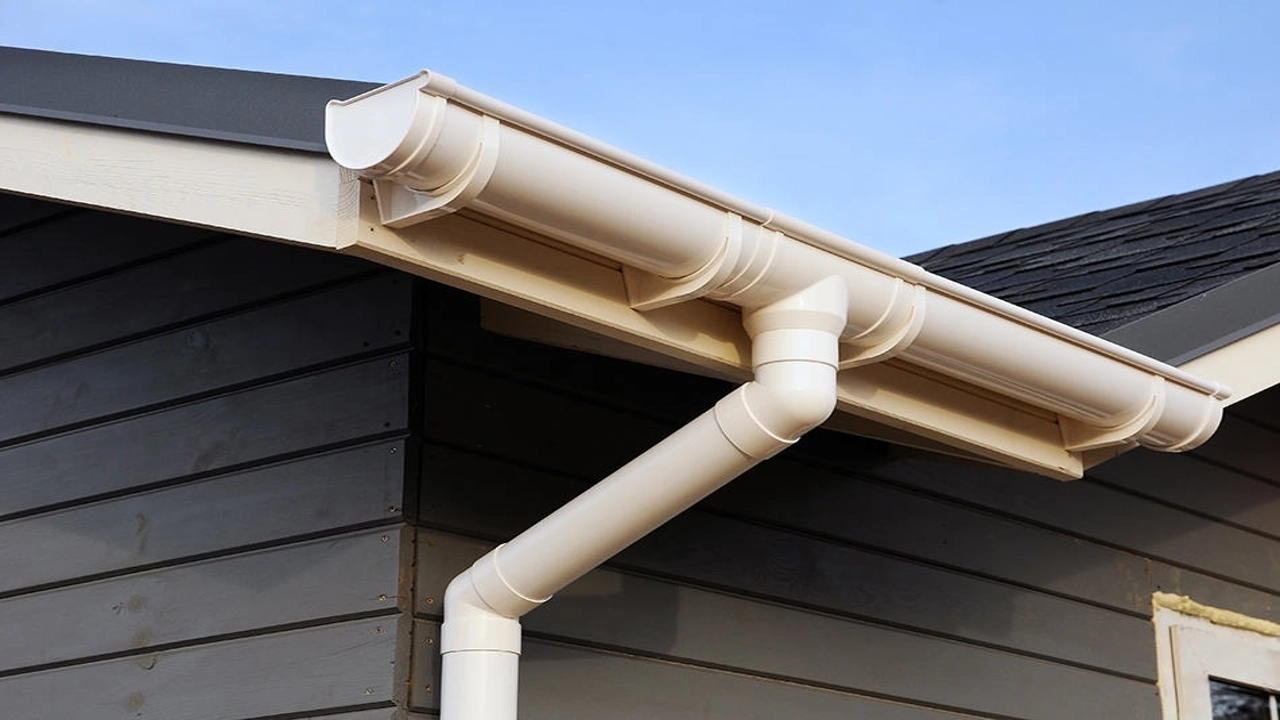
Installing the Downspouts
Now, follow these steps to install your downspouts:
- Attach the Downspout to the Gutter: Start by attaching the downspout to the gutter outlet using a downspout connector. Securely fasten the connector to the gutter and downspout.
- Install the Downspout Sections: Measure and cut the downspout sections to the desired length. Connect the sections using slip-joint couplers, ensuring a tight fit.
- Add Elbows and Extensions: Use elbows to change the direction of your downspout. You can also use extensions to extend the downspout length.
- Secure the Downspouts: Once your downspout is assembled, secure it to the wall using brackets or straps, spacing them every few feet for stability.
- Install a Splash Guard: A splash guard helps prevent water from splashing back onto your foundation or landscaping. Attach the splash guard to the downspout outlet.
Tips for Successful Installation
- Use Silicone Sealant: Apply silicone sealant to all joints to prevent leaks.
- Inspect Your Work: Carefully inspect your installation for any leaks or loose connections.
- Maintain Your Downspouts: Regularly clean your downspouts to prevent debris build-up.
Downspout Installation Variations
- Underground Downspout: You can install your downspout underground to drain water away from your foundation, often using a perforated pipe.
- Decorative Downspout: Consider using decorative downspouts for a more aesthetically pleasing look.
Troubleshooting Common Downspout Problems
- Leaking Joints: Check for loose connections and re-tighten or use additional sealant.
- Clogged Downspout: Clean out debris and ensure proper drainage.
- Sagging Downspouts: Adjust or add additional brackets for support.
Seeking Professional Help
For more complex installations or if you’re unsure about any aspect of the process, consider seeking help from a professional contractor. They have the experience and tools to ensure a safe and effective installation.
Gutter Downspout Installation Q&A:
Q1: What tools do I need to install a downspout?
A1: You’ll need a few essential tools:
- Level: To ensure the downspout is plumb and straight.
- Measuring tape: To measure the downspout length and determine where to cut it.
- Hacksaw or metal shears: To cut the downspout to the desired length.
- Screwdriver: To fasten the downspout to the gutter and to attach the downspout extension.
- Drill: To drill holes for screws or for mounting the downspout to the house.
- Safety glasses: To protect your eyes from flying debris.
- Work gloves: To protect your hands.
Q2: How do I determine the best location for a downspout?
A2: The ideal location for a downspout is:
- Close to the edge of the roof: This will minimize the distance the water has to travel.
- Away from foundation walls: To prevent water damage.
- Near a drainage area: Like a downspout extension, dry well, or landscaping features.
- Where the downspout will be easily accessible: For maintenance and cleaning.
Q3: How do I attach a downspout to the gutter?
A3: There are several ways to attach a downspout to a gutter:
- Slip-fit connections: These are quick and easy, but they might not be as secure as other methods.
- Screwed connections: These use screws to attach the downspout to the gutter, providing a more secure connection.
- Gutter brackets: These hold the downspout securely to the gutter, especially on longer runs.
Q4: How do I cut a downspout to the correct length?
A4: Use a hacksaw or metal shears to cut the downspout to the desired length. Ensure the cut is perpendicular to the downspout for a clean and secure connection.
Q5: How do I connect downspout sections together?
A5: Connect downspout sections using a downspout connector. These come in a variety of styles and sizes. Ensure the connector is properly aligned and secured to prevent leaks.
Q6: How do I install a downspout extension?
A6: Attach the extension to the bottom of the downspout using a secure connection. You may need to drill holes for screws or use specialized clamps depending on the extension style.
Q7: What are the different types of downspout extensions?
A7: Common types of downspout extensions include:
- Underground drainage: This directs water away from the foundation through a buried pipe.
- Surface drainage: This uses a channel or pipe to guide water away from the foundation.
- Rain barrels: These collect rainwater for use in gardening or other purposes.
- Decorative downspout extensions: These add a touch of style and can be used for decorative purposes.
Q8: How do I maintain my downspout?
A8: Regular maintenance is crucial for preventing clogs and leaks:
- Clean gutters and downspouts: Remove leaves, debris, and other obstructions at least twice a year.
- Inspect for leaks: Check for cracks, holes, or loose connections and repair them promptly.
- Inspect downspout extensions: Ensure they are functioning correctly and remove any obstructions.
Q9: What should I consider before purchasing a downspout?
A9: Consider these factors:
- Material: Choose a durable material, such as aluminum, vinyl, or copper.
- Size: Select a downspout that is large enough to handle the amount of water your roof can produce.
- Style: Choose a style that complements the aesthetic of your home.
- Budget: Downspout costs vary depending on the material, size, and style.
Q10: What are some safety precautions to take when installing a downspout?
A10: Follow these safety tips:
- Work on a stable ladder: Use a ladder that is in good condition and is rated for the weight you are carrying.
- Use proper tools: Ensure your tools are sharp and in good working order.
- Wear safety gear: Always wear safety glasses, gloves, and appropriate footwear when working on a ladder.
- Be aware of your surroundings: Pay attention to your surroundings and avoid working near electrical wires or other hazards.
Conclusion
With these steps, you’re well on your way to tackling your downspout installation project with confidence. Remember, proper preparation is key, so take your time and ensure you have all the necessary tools and materials. Don’t be afraid to seek professional help if you’re unsure about any part of the process. After all, a well-installed downspout system will protect your foundation, landscaping, and home from water damage for years to come.
We’d love to hear your thoughts and experiences! Have you tackled a downspout installation project yourself? Share your tips and tricks in the comments below. And don’t forget to share this post with your friends and family on social media – let’s help others learn how to protect their homes from water damage!