Waterproof your shower the ultimate guide
How to Waterproof a Shower
Waterproofing your shower is essential to prevent leaks and damage to your bathroom. You can achieve this by using a combination of materials and techniques. Start by applying a waterproof membrane to the shower floor and walls. Next, install a shower pan liner to create a barrier against water seepage. Remember to seal all joints and seams with a high-quality sealant.
Finally, apply a waterproof sealant to the shower walls and floor. Be sure to follow the manufacturer’s instructions carefully for each product. By taking the time to properly waterproof your shower, you can enjoy a long-lasting and worry-free shower experience.
waterproof your shower like a pro
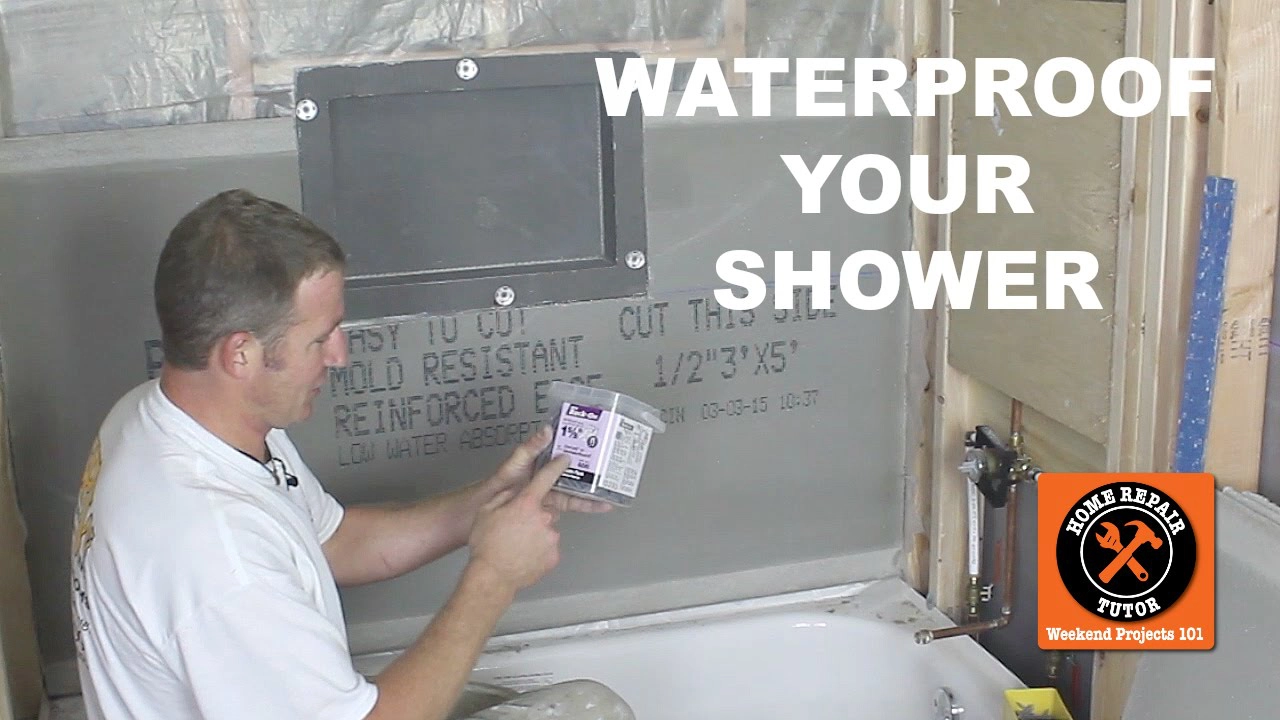
How to Waterproof a Shower: A Step-by-Step Guide
A leaking shower can quickly turn into a major headache, causing damage to your bathroom and even leading to mold growth. But don’t worry, waterproofing your shower is a relatively straightforward process that you can tackle yourself.
This guide will walk you through the steps of how to waterproof a shower, equipping you with the knowledge and tools to create a leak-proof haven.
Understanding the Importance of Shower Waterproofing
Shower waterproofing isn’t just about aesthetics; it’s crucial for the longevity of your bathroom. Water damage can lead to:
- Structural damage: Water penetrating the walls and floor can weaken the structure of your bathroom, leading to costly repairs.
- Mold and mildew: Dampness creates the perfect environment for mold and mildew to grow, posing health risks.
- Aesthetic issues: Water stains and discoloration can diminish the appearance of your bathroom.
How to waterproof a shower effectively involves creating a barrier that prevents water from escaping the shower area.
Materials and Tools You’ll Need
Before you begin, gather the necessary materials and tools:
- Waterproof membrane: This is the heart of your shower waterproofing system. You can choose from various materials, such as PVC, rubberized asphalt, or liquid-applied membranes.
- Sealant: Choose a sealant that’s compatible with your waterproof membrane. Silicone sealant is commonly used, but polyurethane sealant is another option.
- Shower pan liner: This forms a waterproof barrier on the floor of your shower. It’s usually made of PVC or rubber.
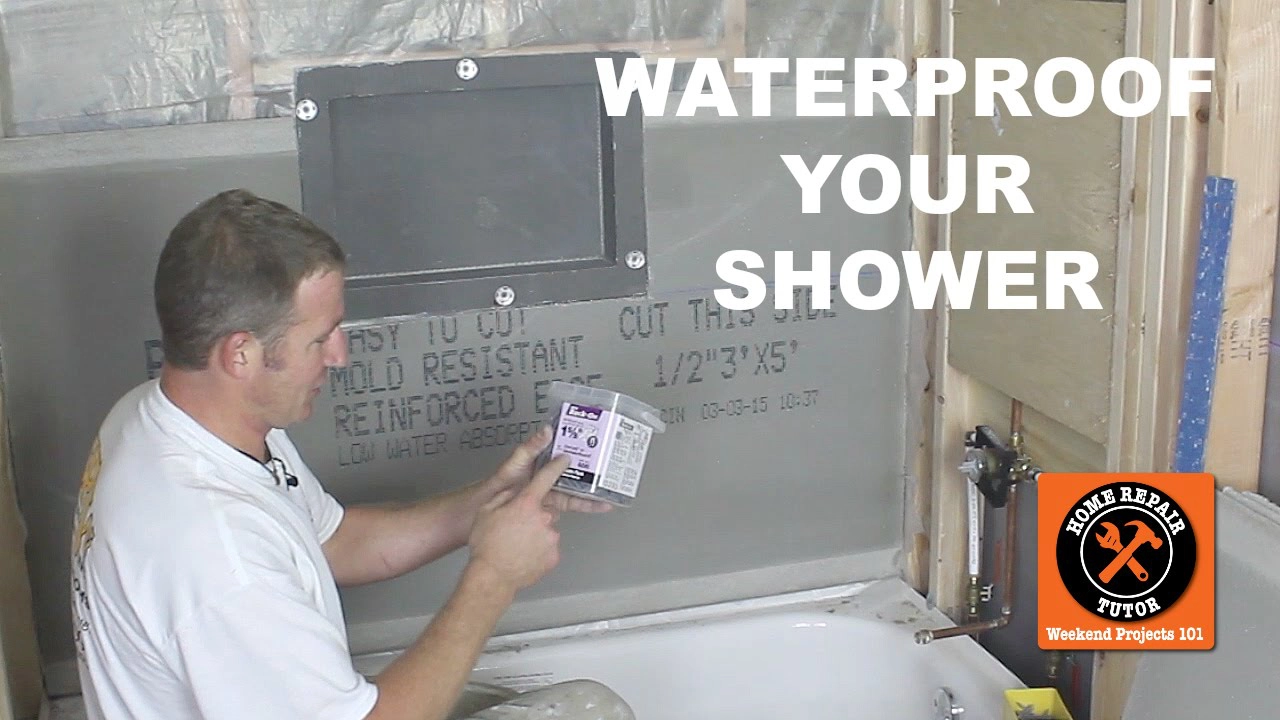
- Backer board: Used to create a solid and waterproof surface for your tile installation.
- Tile: Choose a waterproof tile that matches your bathroom’s style.
- Grout: Waterproof grout is crucial for sealing the gaps between tiles.
- Measuring tape: For accurate measurements of your shower area.
- Utility knife: For cutting the waterproof membrane and shower pan liner.
- Level: To ensure your tiles are installed evenly.
- Notched trowel: Used to spread mortar or thin-set.
- Safety goggles and gloves: Protect your eyes and hands from splashes and chemicals.
Step-by-Step Guide to Waterproofing a Shower
1. Prepare the Shower Area
- Remove existing tiles: If you’re re-doing a shower, carefully remove the old tiles and grout.
- Clean the surface: Thoroughly clean the shower area, removing any debris or residue.
- Inspect and repair: Examine the walls and floor for any cracks or gaps. Repair any issues with patching compound or waterproof sealant.
2. Install the Shower Pan Liner
- Measure and cut: Measure the shower floor and cut the shower pan liner to size.
- Secure the liner: Secure the liner in place using a waterproof sealant around the perimeter.
- Install the drain: Ensure the shower drain is positioned correctly and securely connected to the shower pan liner.
3. Install the Waterproof Membrane
- Apply the membrane: Apply the waterproof membrane to the walls and floor of your shower, following the manufacturer’s instructions.
- Overlap the membrane: Overlap the membrane seams by at least 6 inches to ensure a waterproof seal.
- Seal the joints: Seal any gaps or joints in the membrane using a waterproof sealant.
4. Install the Backer Board
- Measure and cut: Measure the shower area and cut the backer board to size.
- Secure the board: Secure the backer board to the walls and floor using screws or construction adhesive.
5. Install the Tile
- Prepare the mortar: Mix the mortar or thin-set according to the manufacturer’s instructions.
- Apply the mortar: Spread the mortar evenly on the backer board using a notched trowel.
- Lay the tile: Place the tile on the mortar bed, ensuring they are level and properly spaced.
- Grout the tiles: Once the mortar has dried, grout the tiles using waterproof grout.
6. Seal the Shower
- Apply sealant: Apply a waterproof sealant around the edges of the shower, where the tile meets the walls and floor.
- Seal the drain: Seal the shower drain with a waterproof sealant.
7. Test the Shower
- Turn on the water: Turn on the shower and test the water pressure and drainage.
- Check for leaks: Carefully inspect the shower for any leaks or drips.
Tips for Success
- Choose quality materials: Invest in high-quality materials to ensure a long-lasting waterproof seal.
- Follow the manufacturer’s instructions: Carefully follow the manufacturer’s instructions for each material you use.
- Take your time: This process requires attention to detail, so take your time and be meticulous.
- Hire a professional: If you’re unsure about any part of the process, or if you’re working on a complex shower, consider hiring a professional waterproofing specialist.
Keywords:
- How to waterproof a shower
- Waterproof shower
- Waterproofing a shower
- Shower waterproofing
- DIY shower waterproofing
- Waterproof shower membrane
- Shower pan liner
- Waterproof sealant
- Backer board
- Waterproof tile
- Waterproof grout
- Shower leak repair
- Shower leak prevention
- Bathroom renovation
Links:
Note: The provided links are just examples. Please replace them with actual links to relevant resources.
Conclusion:
By following these steps, you can effectively waterproof your shower and prevent future leaks and damage. Remember, using high-quality materials and paying attention to detail is crucial for a successful and long-lasting shower waterproofing project.
is your shower leaking we have the waterproof solution you need
You’ve finally decided to tackle that pesky shower leak. Good for you! A leaky shower can be a real pain, causing damage to your bathroom and even affecting your home’s value. But fear not! You can waterproof your shower like a pro without calling in a professional. Here’s how to get the job done right:
1. Prep the Shower
Before you start waterproofing, you need to prep the shower. This includes removing any existing caulk, cleaning the shower thoroughly, and allowing it to dry completely. If you have any loose tiles, you’ll want to fix these before you move on.
2. Apply Waterproof Membrane
A waterproof membrane is the heart of any successful waterproofing project. You can choose from various options, including liquid membranes, sheet membranes, and even pre-formed shower pans.
Liquid membranes are easy to apply and offer a smooth, seamless finish. Sheet membranes are generally more affordable but can be trickier to install, requiring special tools and techniques. Pre-formed shower pans are a great option for new construction or when replacing an existing shower pan, providing a ready-made waterproof barrier.
3. Apply Caulk
Once your membrane is in place, you’ll need to apply caulk to seal any gaps or cracks. Be sure to use a high-quality, waterproof caulk that’s specifically designed for bathrooms.
4. Tile Installation
If you’re tiling your shower, now’s the time to do it. Make sure to use a thin-set mortar that’s specifically designed for wet areas. And don’t forget to grout your tiles to seal the gaps.
5. Final Touches
The last step is to clean up any mess and let the caulk and grout cure completely. Once everything is dry, you’re ready to enjoy your brand-new, leak-free shower!
Here are some tips for waterproofing your shower like a pro:
- Use high-quality materials: Don’t skimp on the materials! You want to make sure you’re using the best possible products to ensure your shower is properly waterproofed.
- Follow the manufacturer’s instructions carefully: Each product will have its own set of instructions. It’s important to follow these carefully to ensure the product works as intended.
- Take your time: Don’t rush the job. Waterproofing is a delicate process that takes time and patience.
- Hire a professional if you’re unsure: If you’re not confident in your DIY skills, don’t be afraid to hire a professional. They can help ensure the job is done right and that you get a leak-free shower.
How to Find the Right Waterproofing Products
If you’re ready to waterproof your shower like a pro, you’ll need to find the right waterproofing products. You can check out your local home improvement store or browse online retailers. Here are a few things to look for:
- Waterproof membrane: This is the most important part of the waterproofing process. Look for a membrane that’s specifically designed for bathrooms and that’s easy to apply.
- Caulk: Use a high-quality, waterproof caulk that’s specifically designed for bathrooms.
- Thin-set mortar: If you’re tiling your shower, make sure to use a thin-set mortar that’s designed for wet areas.
- Grout: Choose a grout that’s waterproof and easy to clean.
Additional Resources:
- How to Waterproof Your Shower
- Shower Waterproofing: A Complete Guide
- How to Waterproof a Shower for Beginners
Related Search Queries:
- How to waterproof a shower
- How to waterproof a shower stall
- Waterproofing a shower floor
- Shower waterproofing tips
- DIY shower waterproofing
- How to waterproof a shower pan
- Waterproofing shower walls
- How to install a shower membrane
- Shower waterproofing products
- Shower waterproofing cost
Waterproofing Your Shower: Common Questions Answered
Q: Why should I waterproof my shower?
A: Waterproofing your shower is essential to prevent water damage. Water leaking from your shower can ruin your bathroom walls and floor, leading to mold and mildew growth, and even structural damage.
Q: What materials do I need to waterproof my shower?
A: You’ll need a waterproof membrane, usually a rubberized sheet, and a sealant. Make sure the sealant is compatible with the membrane you choose.
Q: Where do I apply the waterproof membrane?
A: You should apply the waterproof membrane to all surfaces that will come into contact with water. This includes the shower floor, walls, and the area behind the shower pan.
Q: How do I apply the waterproof membrane?
A: Follow the manufacturer’s instructions for the specific membrane you choose. In general, you’ll need to clean the surfaces, apply the membrane in overlapping layers, and let it dry completely.
Q: What if I already have tile in my shower? Do I need to remove it to waterproof?
A: If you have existing tile, you may be able to waterproof underneath it. However, it’s best to consult with a professional to ensure the waterproofing is done properly. Removing existing tile can be challenging and require specialized tools.
Q: Can I waterproof my shower myself?
A: You can attempt to waterproof your shower yourself, but it’s a complex task. You need to be careful and precise to ensure proper application. If you have any doubts, it’s always a good idea to hire a professional.
Q: How often should I check my shower for leaks?
A: It’s a good idea to check your shower for leaks regularly, especially after heavy use. Look for signs of water damage, like discoloration, bubbling, or peeling paint.
Q: What happens if my shower starts leaking?
A: If your shower starts leaking, you should address the issue as soon as possible. If the waterproofing is damaged, you will need to repair it. Otherwise, the leak can worsen and cause significant damage to your bathroom.
Conclusion
Waterproofing your shower is a crucial step in ensuring a long-lasting and leak-free bathroom. By properly preparing the surface, installing a waterproof membrane, and sealing all joints and penetrations, you can create a barrier that effectively protects your walls and floors from water damage. Remember to choose the right materials for your project and follow the manufacturer’s instructions carefully.
Have you tackled a shower waterproofing project? Share your experience and tips with other readers in the comments below! Want to spread the word about this valuable information? Share this post on your favorite social media platforms and help others learn how to create a waterproof shower.

