


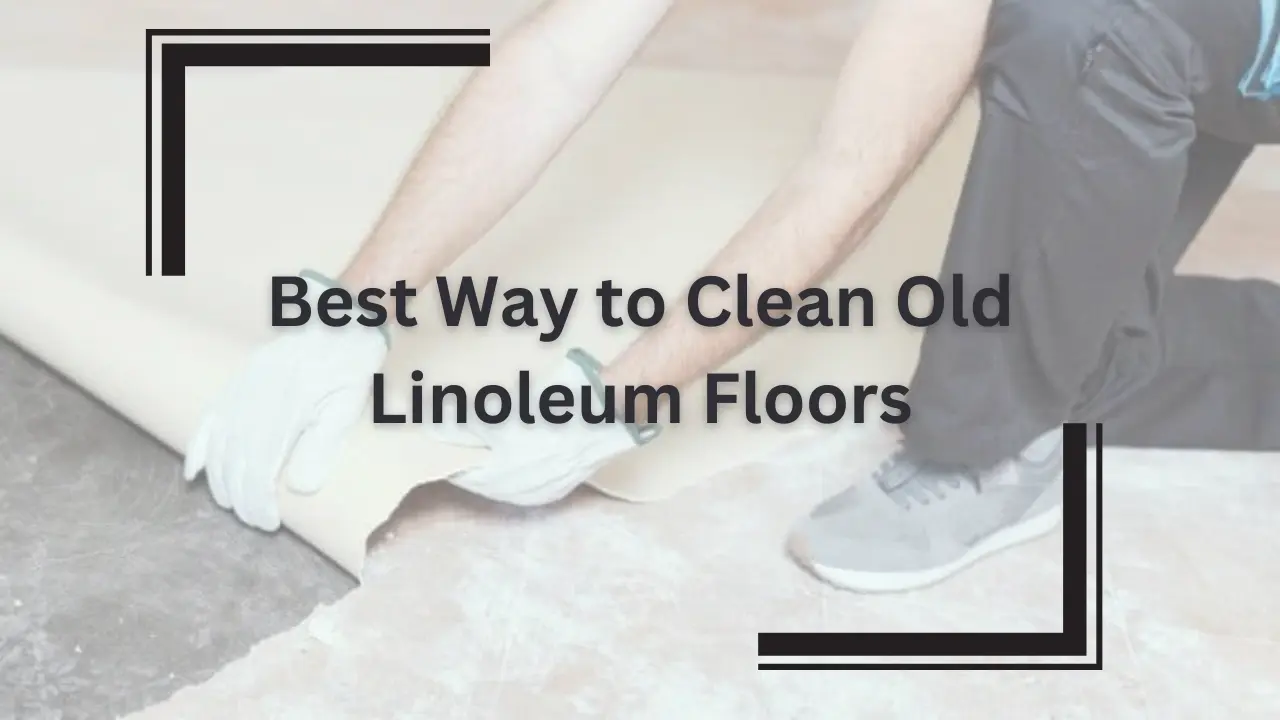
Are you tired of staring at your dull and dingy linoleum floors? Fear not! This guide’ll reveal the best tips for how to clean old linoleum. You’re dealing with stubborn stains, built-up grime, or wear and tear. We’ve got you covered.
Cleaning old linoleum floors requires the right techniques and products. This is crucial to avoid causing damage. The best way to clean old linoleum floors starts with gentle methods. They are effective but won’t harm the surface. We’ll explore homemade natural cleaners and specialized products. They are the most efficient solutions tailored to your linoleum’s needs.
Forget about harsh chemicals that strip away the linoleum’s protective layers. Our tips focus on using natural cleaners. They are safe for your family and the environment. Simple ingredients, like vinegar, baking soda, and lemon juice, will amaze you. They have transformative power.
But cleaning old linoleum floors isn’t about the products you use. It’s also about the techniques you use. We’ll share expert insights on how to scrub, mop, and polish linoleum. This will ensure a shine with no streaks. Say goodbye to streaks and hello to floors that sparkle like new.
You may be a seasoned cleaning pro or a novice. You may be tackling your first linoleum project. Our guide has something for everyone. With our tips, you’ll be ready to tackle tough stains and years of grime.
So, if you’re ready to transform your old linoleum floors into the focal point of your home, keep reading. We’ll guide you. You need to know how to get great results with little effort. Get ready to fall in love with your floors all over again!
Step-By-Step Guide to the Best Way to Clean Old Linoleum Floors
You must keep old linoleum floors looking nice. You need a proper balance of cleaning well and gentle care. Over time, dirt, grime, and stains build up. They dull these timeless floors. Yet, you can restore their beauty. And, bring back the ambiance of your space. In this how to clean old linoleum guide, we’ll walk you through a step-by-step process.
It will help you achieve clean old linoleum floors. You will assess the condition of your floors. You will pick the right cleaning supplies and use effective cleaning methods. We make each step to achieve the best results while keeping your linoleum intact.
You might have minor dirt or tough stains. Our expert tips and techniques will help you clean with confidence. They will help you keep your old linoleum floors charming and elegant for years.
1. Understanding Linoleum Flooring
Linoleum flooring has been popular for homes and businesses for decades. This is because it is durable, affordable, and versatile. Manufacturers make linoleum from natural materials like linseed oil, wood flour, and resins. It is resilient, so it’s ideal for high-traffic areas.
Linoleum flooring comes in many styles, colors, and patterns. They let homeowners customize their space to their preferences. Whether you have vintage linoleum tiles or modern sheet linoleum, proper care is key. It preserves its beauty and longevity.
2. Assessing the Condition of Your Floors
Before cleaning, you must check the condition of your old linoleum floors. Note any visible stains, scratches, or discoloration. These will need special cleaning.
Inspect the seams and edges of the linoleum for signs of wear and tear, such as lifting or curling. Fixing damage can stop more harm. It will also make your floors last longer.
3. Preparing Your Cleaning Supplies
Gather all the necessary supplies before starting the cleaning process. You’ll need:
- – Mild detergent or pH-neutral cleaner
- Warm water
- Soft-bristled brush or mop
- Microfiber cloth or sponge
- White vinegar
- Baking soda
- Lemon juice
Related Articles: Ultimate Guide: How to Install Vapor Barrier on Concrete
4. The Best Way to cleaning old linoleum floors
To clean old linoleum floors, follow these steps:
Step 1: Sweep or Vacuum
Use a broom or vacuum with a soft brush to remove dirt and dust from the floor.
Step 2: Dilute Cleaner
Mix a small amount of mild detergent or pH-neutral cleaner with warm water in a bucket. Avoid using harsh chemicals or abrasive cleaners, as they can damage the linoleum.
Step 3: Mop the Floor
Dip a soft-bristled brush or mop into the cleaning solution and wring out excess liquid. mop the floor in a back-and-forth motion, working in small sections.
Step 4: Spot Treat Stains
For stubborn stains, apply a mixture of white vinegar and warm water to the affected area. Let it sit for a few minutes, then scrub with a sponge or soft-bristled brush.
Step 5: Rinse Thoroughly
After cleaning the whole floor, rinse it with clean water. This will remove any soap. Dry the floor with a microfiber cloth or allow it to air dry completely.
5. tips for cleaning old linoleum
To keep your old linoleum floors looking their best, consider the following tips:
Put doormats at entryways. They stop people from tracking dirt onto the floor.
Don’t drag heavy furniture or sharp objects across the linoleum. This will prevent scratches and damage.
– Clean up spills to prevent staining and water damage.
– Use furniture pads or coasters under chair legs and table feet to prevent indentation marks.
6. Natural Cleaners for Old Linoleum Floors
If you prefer to use natural cleaners, here are some options:
– Mix equal parts of white vinegar and water for a mild cleaning solution.
– Sprinkle baking soda onto stubborn stains and let it sit for a few minutes before scrubbing with a damp sponge.
– Combine lemon juice with water to remove grease and grime from the linoleum surface.
Related Article: Clean Prefinished Hardwood Floors Guide
FAQs:how to clean old linoleum
– How often should I clean my old linoleum floors?
You should clean old linoleum floors at least once a week. This will prevent dirt buildup and keep them looking good.
– Can I use bleach to clean linoleum floors?
No, bleach can damage linoleum and cause discoloration. It’s best to avoid harsh chemicals and opt for mild cleaners instead.
– How do I remove scuff marks from linoleum floors?
To remove scuff marks, apply a little toothpaste or baking soda to the mark. Then, scrub it with a soft cloth.
– Is it safe to use steam mops on linoleum floors?
Yes, you can use steam mops on linoleum floors. But, be sure to follow the maker’s instructions and avoid too much heat.
– Can I wax old linoleum floors?
You do not need to wax linoleum floors. Modern linoleum is often coated with a sealant. Yet, if you choose to wax your floors, be sure to use a wax formulated for linoleum.
– How can I prevent the yellowing of linoleum floors?
Avoid exposing linoleum floors to direct sunlight for prolonged periods to prevent yellowing. Use curtains or blinds to block UV rays and protect the flooring from fading.
Conclusion:
You can restore your old linoleum floors. clean and maintain them well. Then, you can enjoy a clean and inviting space for years. Follow these tips. Use natural cleaners. They will keep your linoleum floors looking great. You can do this without harsh chemicals or expensive treatments.


