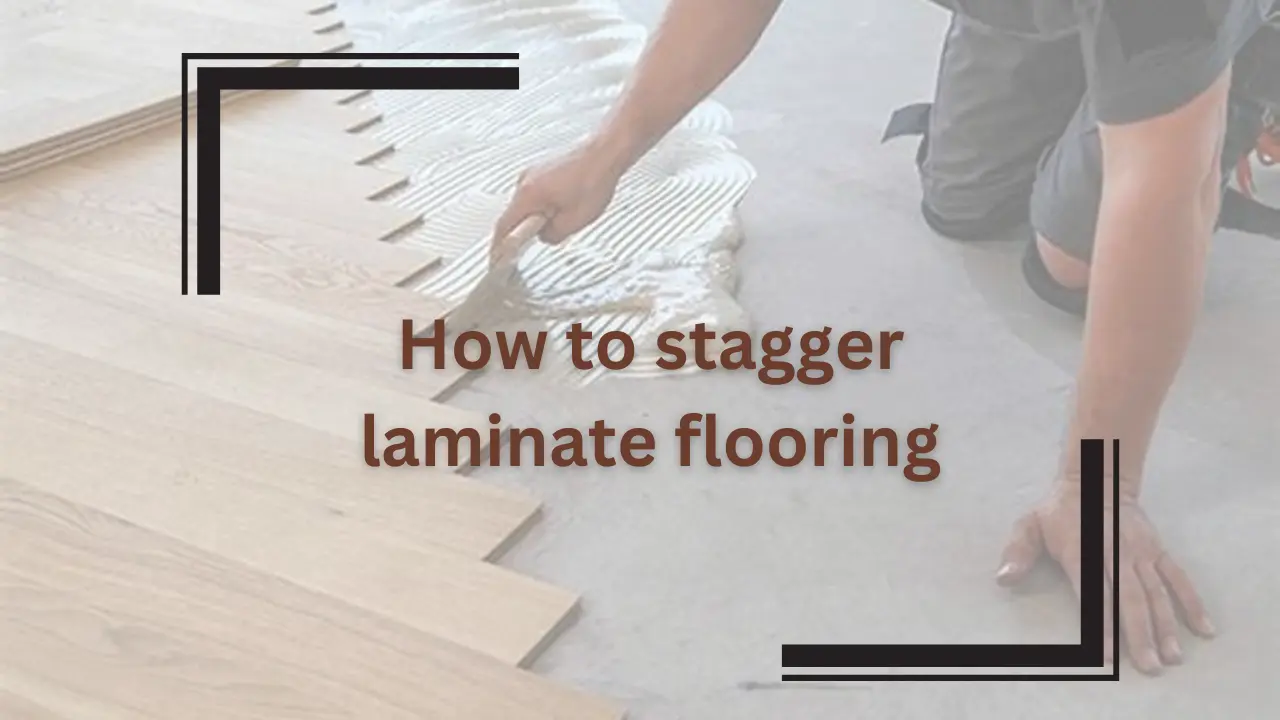
Looking to elevate the aesthetic appeal of your space with laminate flooring? Wondering how to stagger laminate flooring for a professional finish? Look no further! In this detailed guide, we’ll cover the details of staggering laminate flooring. It creates a seamless and striking result.
Staggering laminate flooring isn’t about looks. It’s also key for strength and longevity. Stagger your laminate planks. This prevents weak spots and extends your floor’s life.
Whether you’re a seasoned DIY fan or a new homeowner starting your first flooring project. You can master the art of staggering laminate flooring. It’s within your reach. We cover the importance of stagger patterns. And, we have practical tips for flawless execution.
Get ready to transform your space and create a stunning floor that will impress for years to come. Let’s dive into the world of stagger laminate flooring and unleash your creativity!
Understanding Staggering Laminate Flooring
To stagger laminate flooring, install the planks so the end joints don’t align. This technique is key for structure and looks. When laying laminate flooring, use an offset pattern. The end joints of adjacent rows should not be above each other. This prevents weak points and ensures the floor remains stable over time.
To achieve this, start each new row with a plank cut to a different length than the previous row. By starting each row at a different point, you’ll create a pleasing layout, while keeping the floor strong and stable.
What is staggering?
People use staggering when installing laminate flooring. It means to offset the end joints of adjacent rows of planks. Instead of aligning the end joints, stagger or offset them. This creates a more stable and appealing flooring layout. This method helps spread weight and stress across the floor. It also stops weak points from forming where many end joints align.
Related Article: Expert Hacks for how to clean old linoleum!
Importance of staggering laminate flooring
Staggering laminate flooring is crucial. It ensures the floor’s stability, longevity, and visual appeal. Stagger the end joints of adjacent rows of laminate planks. This spreads weight and stress. This prevents issues like warping or buckling over time. This technique also creates a more natural appearance.
It looks like traditional hardwood flooring. It also makes the floor stronger and more durable. Staggering laminate flooring is a key step. It leads to a high-quality, strong, and pleasing floor.
Staggering Wood Flooring Tips
When installing wood flooring, precision is key for a polished result. Start by acclimating the wood to the room’s humidity level to prevent warping. Ensure the subfloor is clean, flat, and dry. Use proper tools like a flooring nailer or stapler for secure installation. Mix planks from different boxes to blend color and grain.
Leave gaps around the edges for wood to expand into. Focus on quality underlayment for soundproofing and moisture protection. Finally, follow manufacturer guidelines for maintenance and cleaning to prolong the floor’s lifespan. With attention to detail and these tips, your wood flooring will stand the test of time.
Importance of staggering wood flooring
Staggering wood flooring is key. It offsets the joints between adjacent rows of planks. This is crucial for several reasons. First, it strengthens structural integrity. It does this by preventing weak points where planks align. This reduces the risk of buckling or shifting over time. Second, it enhances looks.
It does this by creating a pleasing pattern that avoids repetition. Third, staggering helps spread loads across the floor. It reduces stress on planks and the risk of damage. Staggering wood flooring is key for durability and beauty. It ensures a long-lasting and appealing floor.
Related Article: Clean Prefinished Hardwood Floors Guide
Tips for staggering wood flooring
Staggering wood flooring is vital. It helps achieve a professional and durable installation. Here are some tips to ensure success:
- Randomize the Plank Lengths. Mix planks of different lengths. This creates a natural and appealing pattern. Avoid aligning end joints to prevent a uniform appearance.
- Maintain Consistent Offsets. Aim for a staggered offset of at least six inches between end joints. Consistency in offset helps distribute weight and prevents weak points.
- Use a staggering pattern. Use a predetermined pattern, such as a running bond or brick pattern. This will ensure a pleasing result.
- Plan ahead. Lay out rows of flooring before securing them. This will reveal any alignment issues and allow adjustments.
- Consider Room Shape. Adapt the staggering pattern to fit the room’s shape. This ensures a balanced and harmonious layout.
- Cut waste. Optimize plank placement to use less and save more material. This is especially important with expensive or limited-quantity flooring.
By using these tips, you’ll achieve a professional wood floor. It will improve your space’s looks and make the floor last.
Best Way to Stagger Vinyl Plank Flooring
Staggering vinyl plank flooring is essential for both aesthetic appeal and structural integrity. By offsetting the joints between planks, you create a more natural look. This also prevents weak points on the floor. In this guide, we’ll cover the best ways to stagger vinyl plank flooring. This will help you to achieve a professional and durable installation.
Why stagger vinyl plank flooring?
Staggering vinyl plank flooring serves several important purposes. First, it enhances the visual appeal of the floor by creating a more natural and varied pattern. Offset the joints between planks. This avoids a repetitive look, making the finish look better.
Additionally, staggering vinyl plank flooring is crucial for maintaining structural integrity. By alternating the placement of end joints in adjacent rows, you spread the weight more. This is across the floor. This helps to prevent weak points and reduces the risk of damage, such as buckling or shifting, over time.
Staggering vinyl plank flooring is vital. It creates an appealing and durable installation. It will last a long time.
Related Article: How to Prevent Hardwood Floor Slipping
Best practices for staggering vinyl plank flooring
Introducing the best practices for staggering vinyl plank flooring. Staggering the placement of vinyl plank flooring is essential. It achieves a professional-looking installation. Follow these tried-and-true techniques. They’ll give you a good look and make your vinyl floor last. Let’s dive into the key strategies. They will help you achieve the best results when installing vinyl plank flooring.
- Randomize Plank Lengths: Mix planks of varying lengths to create a natural-looking pattern and avoid repetitive joints.
- Maintain Consistent Offsets: Aim for a staggered offset of at least 6 inches between end joints in adjacent rows to distribute weight evenly.
- Use a Staggering Pattern: Follow a predetermined pattern, such as a running bond or brick pattern, for a visually pleasing layout.
- Plan Ahead: Lay out several rows of flooring before securing them to identify any alignment issues and make adjustments as needed.
- Consider Room Shape: Adapt the staggering pattern to suit the shape of the room, ensuring a balanced and harmonious layout.
- Minimize Waste: Optimize plank placement to minimize waste and maximize material utilization, especially with limited-quantity flooring.
Use these best practices. They will give you a pro and durable vinyl plank floor. It will make your space look better and last longer.
Staggering Floor Tiles
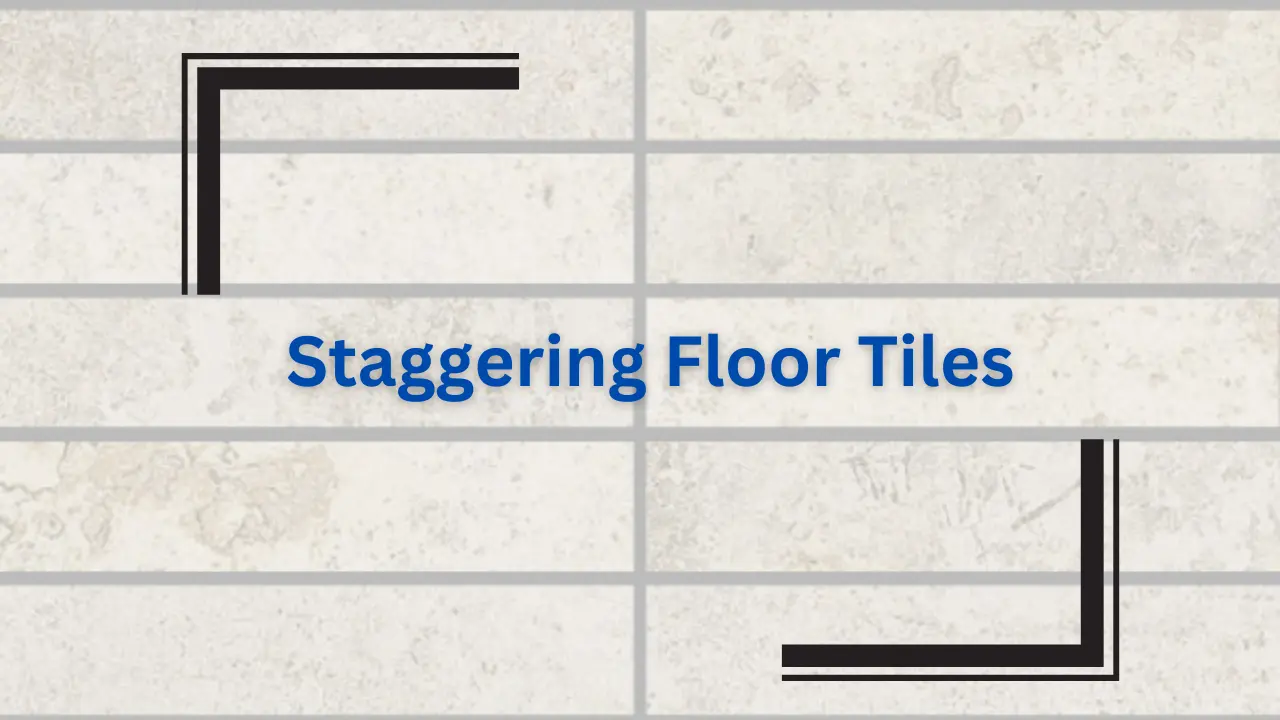
Staggering floor tiles is a key tiling technique. It adds strength and beauty to installations. It creates an appealing pattern. It also prevents weak points. Offset the tiles in each row. In this brief guide, we’ll talk about the importance of staggering floor tiles. We’ll also give tips for achieving a professional and durable tile installation.
Techniques for staggering floor tiles
Stagger floor tiles by offsetting each row by half the tile’s length. This creates a staggered pattern. This technique spreads seams. It stops lines from forming. Lines can detract from the look.
- Offset Joints: Offset the placement of tiles in each row so that the end joints do not align with adjacent rows. This helps to distribute weight and prevents weak points on the floor.
- Use a Staggering Pattern. Follow a set pattern, like a running bond or brick pattern, for an appealing layout. This creates a cohesive look. It still provides the benefits of staggering.
- Mix tiles of different sizes. This creates a more natural pattern. This prevents a repetitive look and adds visual interest to the floor.
- Plan ahead. Lay out several rows of tiles before securing them. This will help find any alignment issues and make adjustments. This helps to ensure a smooth and uniform installation.
- Consider Room Shape. Adapt the staggering pattern to fit the shape of the room. This ensures a balanced and harmonious layout. This may involve adjusting the starting point or angle of the tile installation.
Use these techniques. They will help you achieve a professional and appealing tile installation. It will make the space look and feel better.
Benefits of staggering floor tiles
Staggering floor tiles is more than a technique. It’s a strategy with many benefits for looks and function. Offsetting the placement of tiles in each row enhances structure. It prevents weak points and makes a pleasing pattern. In this brief overview, we’ll explore the key benefits of staggering floor tiles. It helps make a tile installation professional and durable.
- Staggering floor tiles distributes weight. This reduces the risk of cracks and ensures long-term durability.
- By placing tiles off-center, we cut weak points in the floor. This makes the installation more robust.
- Staggering creates an appealing pattern. It adds depth and character to the space.
- voiding aligned joints prevents monotony. It makes the tiled area look better.
- Staggering makes tiles easier to change. It lets them fit irregularities in the subfloor or room. This ensures a smoother installation process.
How to Stagger Hardwood Flooring
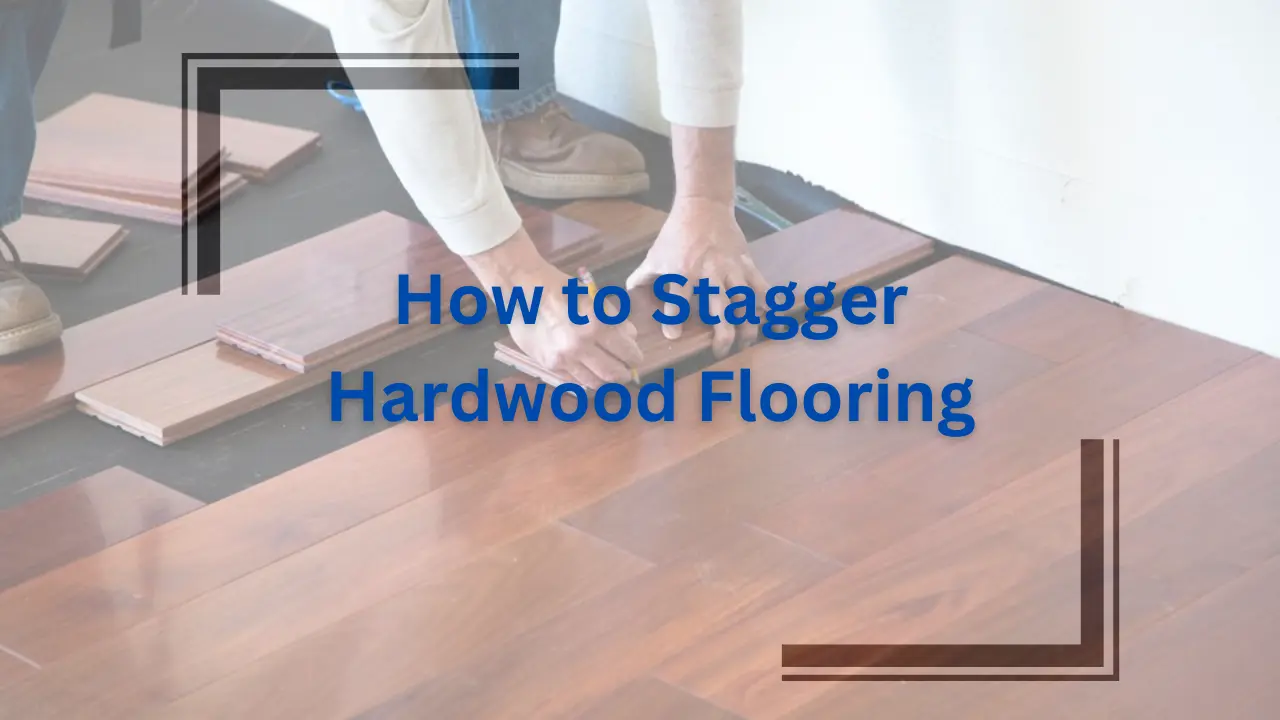
Staggering hardwood is a critical step. It helps achieve a professional and pleasing installation. Offsetting the placement of hardwood planks enhances the structure. It also creates a natural and appealing pattern. In this short guide, we’ll explore the main techniques and factors. They are for installing staggered hardwood flooring. It ensures a smooth and strong result.
Steps for staggering hardwood flooring
Here are the steps for staggering hardwood flooring:
- Acclimate the wood. Let the wood planks adjust to the room’s humidity. Do this for at least 48 hours before installation. This prevents warping.
- Prepare the Subfloor. Make sure the subfloor is clean, flat, and dry. Do this before laying the hardwood flooring. It provides a stable foundation.
- Mix planks of varying lengths. This creates a natural pattern and avoids repetitive joints.
- Start by laying the first row of hardwood planks along one wall. Make sure the tongue side faces the room.
- Offset End Joints. Offset the end joints of adjacent rows by at least 6 inches. This spreads the weight and prevents weak points.
- Maintain Consistency: Use a consistent staggering pattern. Do this throughout the installation for a cohesive look.
- Lay out several rows of flooring before securing them. This will let you find any alignment issues and make adjustments as needed.
- Use a saw to cut planks to fit at row ends or around obstacles. This ensures a snug fit.
- Leave expansion gaps. Put them around the room’s edges. This lets the wood expand.
- Finish the Installation. Once all planks are in place, attach them to the subfloor using a flooring nailer or stapler. Then, add baseboards or trim to finish.
Follow these steps. You can achieve a pro and lasting hardwood floor. It will have a staggered pattern. This pattern boosts both the strength and look of the space.
Common mistakes to avoid.
Here are common mistakes to avoid. In any project, knowing what not to do is as important as knowing what to do. When installing hardwood flooring, it’s crucial to avoid common mistakes. Doing so is key to achieving a flawless result. In this short introduction, we’ll highlight some common errors to avoid. Doing so will ensure a smooth and successful hardwood flooring project.
- Skipping Acclimation. Failing to acclimate hardwood to the room’s humidity can cause warping or buckling. This happens after installation.
- Poor subfloor preparation leads to uneven flooring or squeaks. It happens when you neglect to clean, level, or repair the subfloor.
- Staggering planks is incorrect. It creates visual inconsistencies and weakens the floor.
- The gaps are too small. Hardwood needs space to expand. Small gaps cause boards to push and get damaged.
- Cutting hardwood planks can result in uneven seams or gaps. This problem detracts from the floor’s appearance.
- Improper Fastening causes loose or squeaky flooring. It happens when you use the wrong nails, staples, or adhesive, or fail to secure planks.
- Neglecting Moisture Protection: Ignoring moisture barriers or underlayment can cause problems. These include mold, mildew, and wood rot.
- Applying finish too can cause streaks, bubbles, or an uneven sheen on the hardwood.
Avoid these mistakes. They can ruin a wood floor installation. A good installation will beautify and lengthen the life of your space.
FAQs: How to stagger laminate flooring
- What is the purpose of staggering laminate flooring? Staggering laminate flooring helps to prevent repetitive patterns, cut waste, and enhance stability.
- Can I stagger laminate flooring without following a pattern? You can stagger laminate flooring without a pattern. But, following a structured approach ensures a uniform result.
- How much gap should you leave between staggered laminate flooring? Leave a gap of at least 1/4 inch between the flooring and the wall. We need this gap for expansion and contraction.
- Is staggering hardwood flooring different from laminate flooring? The basic principle of staggering remains the same. But, the installation process and considerations may vary. This is true for both hardwood and laminate flooring.
- Can I stagger vinyl plank flooring in a diagonal pattern? Yes, laying vinyl plank flooring in a diagonal pattern can create a unique look. But, it may need more planning and precision to install.
Conclusion
In conclusion, staggering laminate flooring is vital. It helps achieve a professional and durable installation. Follow the best practices in this guide. These include: randomizing plank lengths, keeping consistent offsets, and planning. They will ensure a floor that is both appealing and durable. Remember to focus on preparing the subfloor well. Leave gaps for expansion and use good tools and materials. This will make your laminate flooring last longer.
Now you know how to stagger your laminate flooring. We’d love to hear from you! Have you ever tackled a flooring project on your own? What challenges did you face, and how did you overcome them? Share your experiences in the comments below, and let’s continue the conversation. Together, we can empower each other. We can create beautiful, strong spaces in our homes.

