

A dent in engineered wood is a compressed wood fiber, not a scratch — and that is good news. If the finish is intact and the dent is shallow, moisture and heat can swell the fibers back up until the surface is nearly flat again. Deep dents, torn wear layers, and crushed edges are a different job: filler or a board replacement.
The method that works for most dents is a damp cloth and a warm iron, applied in short passes with the grain. It raises maybe 70–90% of a shallow dent and leaves the finish intact. Anything deeper than about 1/8 inch, or any dent where the wear layer has cracked, needs a different repair.
Here is the full sequence, the limits of each method, and how to know when a board has to come out.
Key Takeaways
- Iron method first: a damp cloth plus a warm iron raises shallow dents in engineered wood without sanding.
- Never sand through the wear layer. Engineered boards have 2–6 mm of real wood on top; once it is gone, the board is finished.
- Deep dents need filler matched to the floor color, or a board replacement if the damage is structural.
- Test in a hidden spot before applying heat or moisture to a visible area.
What You Need
| Item | Why |
|---|---|
| Clean cotton cloth | Carries moisture evenly; lint-free |
| Clothes iron | Dry heat, no steam setting |
| Spray bottle with water | Light, controlled dampening |
| Wood filler or wax repair stick | For dents that will not raise |
| Fine abrasive pad (optional) | Blending a repaired area |
Step-by-Step: Raising a Dent
1. Check the depth and the finish
Run a fingernail across the dent. If the nail catches on a torn edge, the wear layer is compromised and the iron method can make it worse. If the surface is smooth and just compressed, you have a good candidate. Dents deeper than about 1/8 inch rarely raise fully.

2. Clean the area
Dust and grit trap heat unevenly and can scratch the finish under the cloth. Wipe with a slightly damp cloth and let the surface dry completely before starting.
3. Dampen a cloth, not the floor
Fold a clean cotton cloth into a pad and dampen it lightly — damp, never dripping. Lay it over the dent. Water is what swells the compressed fibers; the iron is only there to drive the moisture in as vapor.
4. Apply heat in short passes
Set the iron to a medium setting with steam off. Press over the cloth for 5–10 seconds, lift, and check. Repeat two or three times, letting the area cool between passes. Stop as soon as the surface levels out; overheating can delaminate the wear layer or leave a halo.
5. Let it dry and assess
Give the floor 24 hours. Some dents continue to rise slightly as moisture equalizes. If the dent is still visible but shallow, a second session is usually safe; if it has not moved at all, switch to filler.
6. Fill or replace if needed
For a dent that will not raise, use a wood filler or a wax repair stick matched to the floor color, applied sparingly and leveled with a plastic card. If the wear layer is torn or the board is crushed at an edge, replace the board — filler in a traffic path will fail.
What Works and What Doesn’t
| Method | Works for | Result |
|---|---|---|
| Damp cloth + iron | Shallow dents, intact finish | Often 70–90% recovery |
| Steam cleaner | Stubborn shallow dents | Effective but higher risk of finish damage |
| Wood filler | Deep dents, torn fibers | Good cosmetic repair; visible under raking light |
| Sanding | Proud edges, not dents | Removes material; risky on thin wear layers |
| Wax stick | Small color-matched dents | Quick, but wears in traffic areas |
When to Replace a Board Instead
Replace the board when the wear layer is cracked through, when the dent sits at a seam and has opened the joint, or when water has swollen the core. Engineered boards are glued or clicked together, so a single board can usually be cut out and replaced by a flooring pro without disturbing the rest of the room.

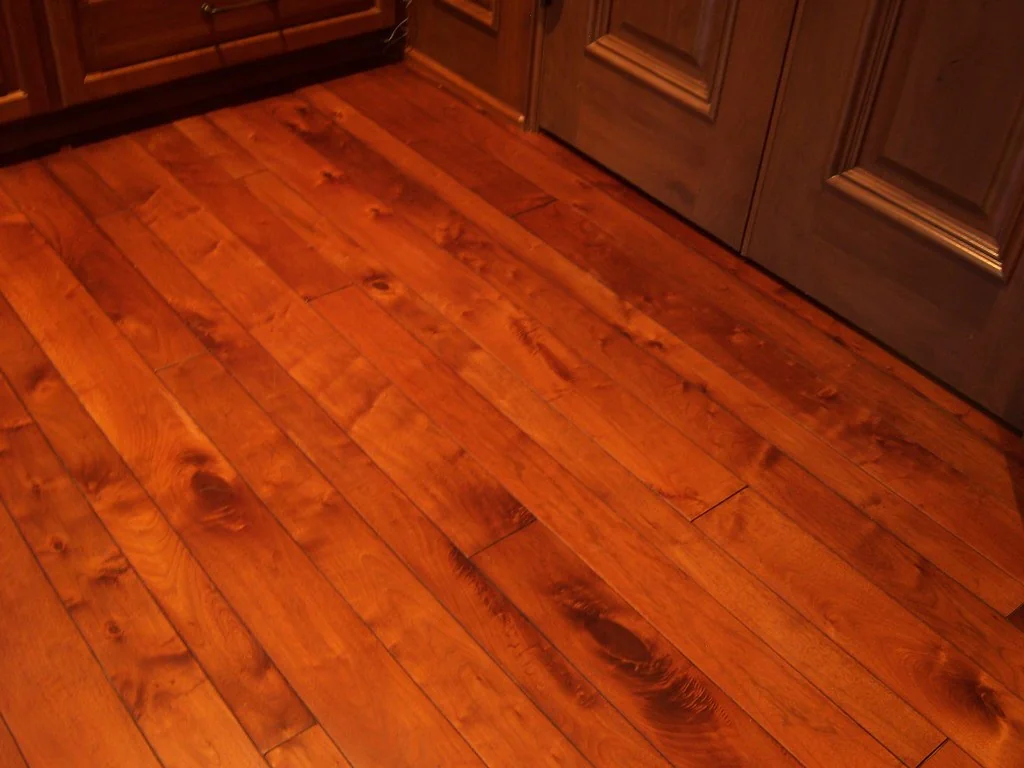
Board thickness and construction matter here: a replacement has to match the original thickness or the seam will telegraph. If you do not know what you have, floorboard sizes and dimensions explains how to measure thickness and width, and the floorboards guide covers solid versus engineered construction.
Preventing the Next Dent
Most dents are caused by three things: chair and table legs without pads, dropped tools or cookware, and heavy furniture dragged instead of lifted. Felt pads under every leg cost a few dollars and eliminate the majority of repeat damage. For rolling chairs, a hard-floor caster set or a polycarbonate mat spreads the load so the wear layer is not point-loaded. In kitchens, avoid dropping heavy pans on the floor and use a mat in front of the sink where standing water softens the finish.
Humidity matters too. Engineered boards are more stable than solid wood, but a room that swings from very dry to very damp still moves. Keeping indoor humidity roughly between 35% and 55% reduces seasonal gapping and makes the wear layer less brittle — which in turn makes dents less likely to crack the finish when something does fall.
Mistakes to Avoid
- Ironing a torn wear layer. Heat and moisture can lift the edges further; fill or replace instead.
- Using a steam iron on high with steam on. Too much water and heat at once can delaminate the plank.
- Sanding aggressively. Engineered wear layers are thin; a few seconds too long and you are into the core.
- Filling a dent in a walkway. Filler wears and discolors; replacement is the durable fix.
- Skipping the hidden test. Always try the method on a closet or under a rug first.
Frequently Asked Questions
Can dents in engineered wood be fixed?
Yes — shallow dents with an intact finish can usually be raised with a damp cloth and a warm iron. Deep dents, crushed edges, or dents with a cracked wear layer need filler or a board replacement. The earlier you treat a dent, the better the result.
Will the iron method damage the finish?
It can if you use too much heat or leave the iron in one spot. Use a medium setting, no steam, a damp (not wet) cloth, and short passes. Test on a hidden area first, and stop as soon as the dent levels.
How deep is too deep for a dent repair?
Around 1/8 inch is the practical limit. Beyond that, the fibers are crushed beyond recovery and the repair becomes cosmetic. If the dent is deep enough to catch a fingernail on a torn edge, plan on filler or replacement.
Can I sand out a dent in engineered flooring?
Only lightly, and only if the wear layer is thick enough. Engineered wood has 2–6 mm of real wood on top; sanding through it exposes the core and ruins the board. For most dents, the iron method is safer than sanding.
Why do dents keep coming back?
Because the cause is still there — usually furniture legs without pads or a heavy item dropped repeatedly in the same spot. Fix the source with felt pads or a protective mat, or the next dent will land in the same place.
Conclusion
Most engineered wood dents are a moisture problem in reverse: the fibers are compressed, and a little controlled moisture plus heat coaxes them back. Work in short passes, test in a hidden spot, and know when to stop — a filled or replaced board beats a ruined wear layer every time.
If the dent sits over a hollow spot, the board moves underfoot, or several planks are lifting nearby, the cause is below the surface. Have the subfloor checked before repairing the same spot twice.
