
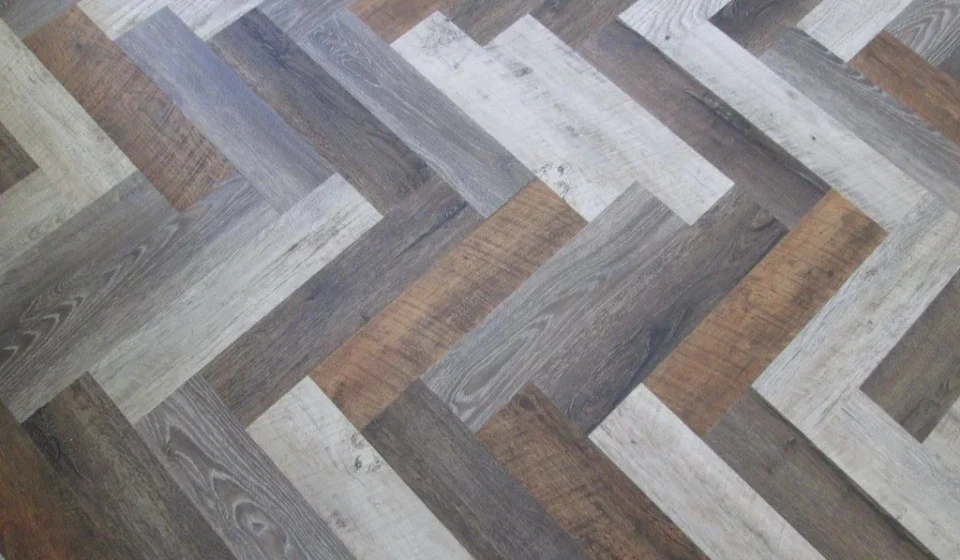

Luxury vinyl plank flooring installs in a weekend for most homeowners who use the floating click-lock method over a flat subfloor with a full expansion gap at walls and a proper stagger pattern across every row. Skip the flatness test, and telegraphing shows up in weeks; skip the acclimation window, and buckling shows up in weeks too.
For most homes the winning install method is floating click-lock LVP (also called LVT plank), which hooks boards together without glue or nails and rests on a foam or cork underlayment. Glue-down is the alternative when you need extra stability — for wet rooms, extreme humidity, or very heavy traffic — but the extra labor rarely justifies it for a typical residential room.
In this guide: how floating, glue-down, and lock-strip installs actually compare, exactly what flatness your subfloor needs, how to prep concrete versus plywood, the full install sequence, common mistakes that ruin a floor, and the practical FAQs that show up after the box is opened.
Key Takeaways
- Floating click-lock LVP is the default DIY install for most homes — no glue, no nails, boards hook together and rest on underlayment.
- Subfloor must be flat to 3/16 inch over 10 feet (Floor Covering Industry Association guideline); anything more telegraphs through to the finished floor.
- Acclimate planks in the room for at least 48 hours before installation to prevent expansion gaps and buckling.
- Stagger board joints by at least 12 inches per row and leave a 1/4–1/2 inch expansion gap around every wall.
- Glue-down SPC is the alternative when you have moisture issues, full-bathroom installs, or high-traffic commercial use — never for standard dry rooms.
Floating vs. Glue-Down vs. Lock-Strip: The Install Methods That Matter
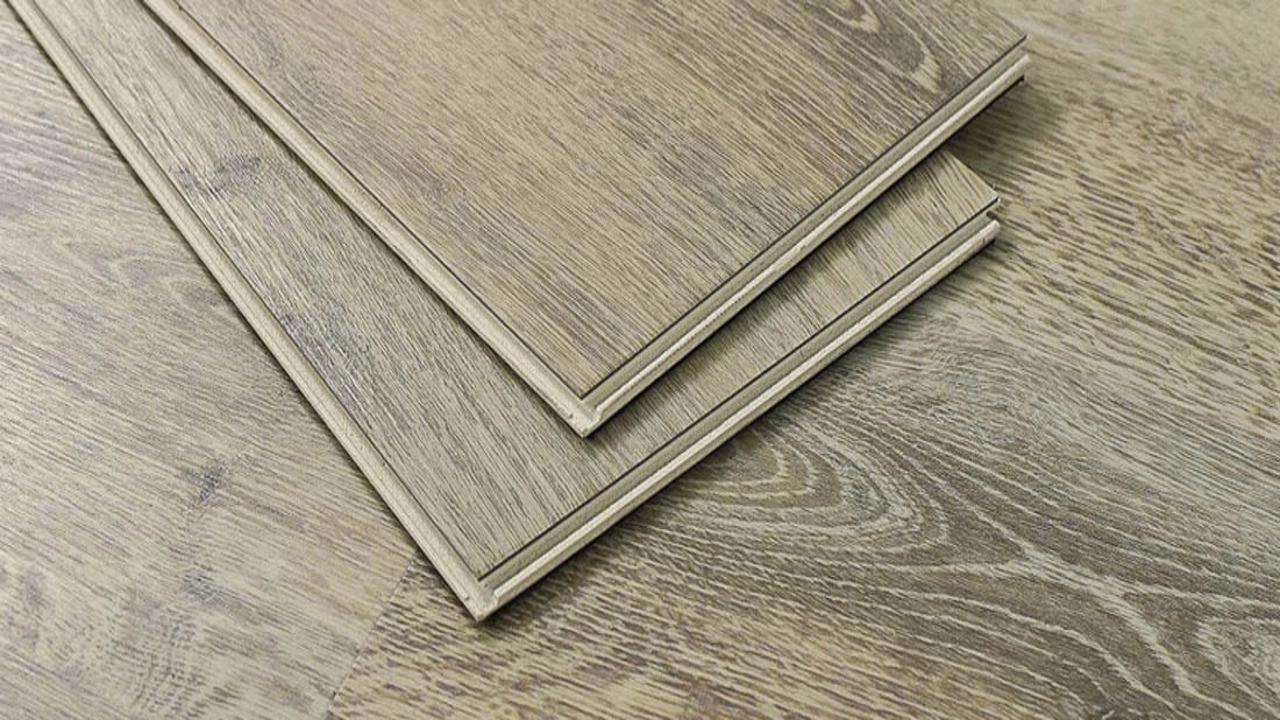
LVP installs in three ways, and picking the wrong one is the fastest way to end up re-doing the whole room. Floating click-lock planks — most commonly SPC (stone polymer composite) or WPC (wood polymer composite) rigid-core boards — hook together through a tongue-and-groove click profile and rest on top of foam or cork underlayment with no fasteners. Glue-down LVP is applied directly to a primed subfloor with vinyl-specific adhesive for a flat, seamless finish. Lock-strip is a third profile that joins boards with interlocking strips but is uncommon on modern LVP.
Most homeowners should install click-lock floating because it's faster, self-leveling over small bumps, and easier to remove if you move later. Choose glue-down SPC only if you're over concrete with moisture issues or installing in a wet area — in that case, see glue-down flooring. See click-and-lock vinyl flooring for a deeper look at the profile itself.
Subfloor Prep: The Flatness Test That Saves You Weeks
The single biggest reason vinyl plank installs fail is a subfloor that wasn't actually flat. The Floor Covering Industry Association (FCIA) recommends a flatness tolerance of 3/16 inch over a 10-foot straightedge for vinyl plank flooring — that's the maximum deviation you can hide under rigid-core SPC before the plank itself telegraphs the bump through the surface.
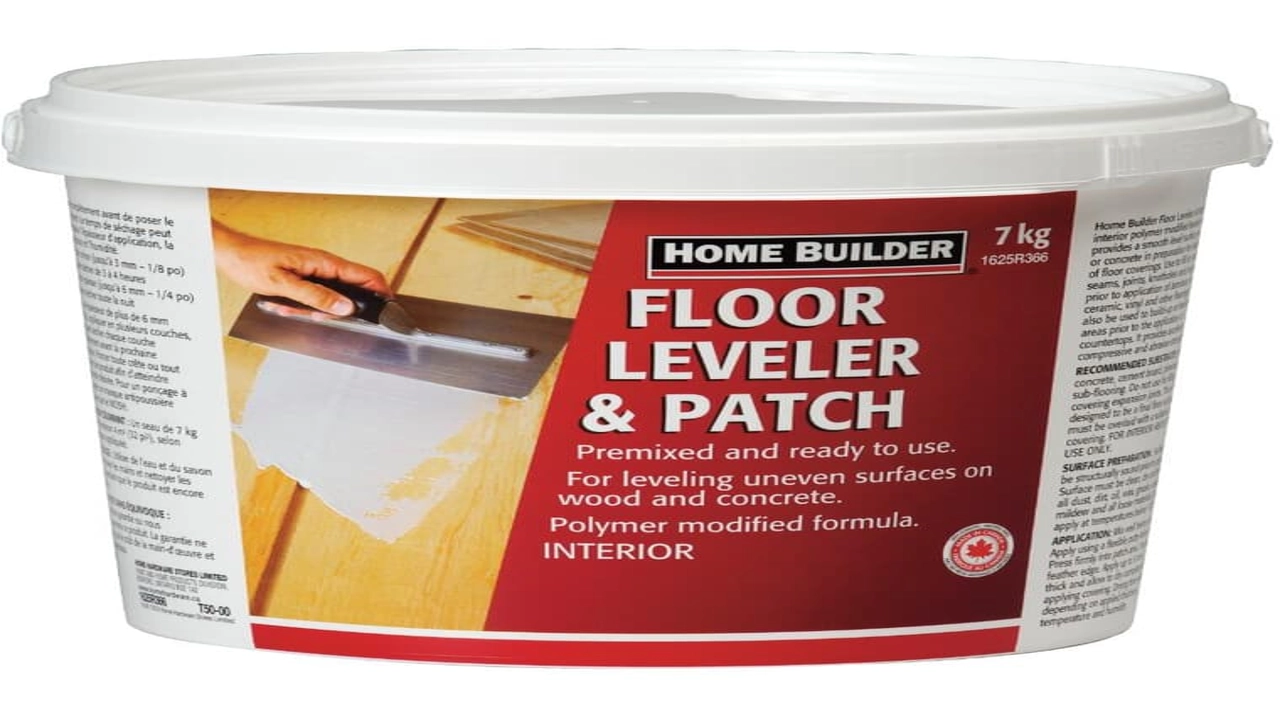
Concrete subfloors need three checks: (1) clean — no paint chips, efflorescence, or loose aggregate that will become a bump under the plank; (2) dry — a moisture test with a plastic-sheet and digital hygrometer reading under 75% RH for 48 hours; and (3) flat — measure with a 10-foot level or straightedge at every 30 degrees around the room. Low spots get filled with a self-leveling compound such as Henry 4005 or Quikrete Level 750; high spots get sanded or ground down.
For wood subfloors — plywood or OSB — check that the sheet is at least 5/8 inch thick, screw-fastened at 6-inch spacing at every edge and field screw, and free of flex underfoot. Uneven seams between sheets get shimmed with a leveling compound, not filled with putty. If the subfloor is off by more than 3/16 inch anywhere, fix it first — see how to fix an uneven subfloor.
Acclimate the Planks Before You Install Them
Rigid-core SPC and WPC boards need 48 to 72 hours in the room they will be installed in before the first plank goes down. ACMA and most LVP manufacturers specify at least 2 days of acclimation at the room's normal temperature and relative humidity; some call for up to 5 days if the room runs above 70% RH or below 40°F.
Why this matters: a plank stored in a warehouse at 55°F and 60% RH expands in your 72°F living room within hours. If you install on day one, the boards keep moving after you finish — and because floating planks can't expand into the walls, the whole floor buckles. Open boxes, stack them in the room for the full window, and let the plastic shrink-wrap sit there too (it slows down the acclimation, which is intentional).
Step-by-Step: How to Install Click-Lock Vinyl Plank
- Confirm flatness one last time with a 10-foot level at every joint line. Any spot over 3/16 inch gets filled before you start.
- Lay down underlayment — a foam or cork underlay in 6 mm thickness is the industry standard. Do not skip this step on wood subfloors, and do not use a moisture-vapor barrier under floating planks over wood.
- Start your first row with the tongue edge facing the wall you're measuring from. Leave the required 1/4–1/2 inch expansion gap (check the manufacturer spec on the box).
- Cut the last plank in row 1 to the wall with a utility knife or a jigsaw, then place it. The leftover offcut starts row 2 — that's what creates the stagger.
- Continue the pattern. Every row starts with the offcut from the previous row, maintaining a 12-inch minimum stagger between joints in adjacent rows. This is the rule that keeps the seam pattern from aligning into obvious lines.
- Click each plank in place by inserting the tongue into the groove at roughly a 30-degree angle and rotating down until the boards lock. Seat every joint with a rubber mallet if the click is tight.
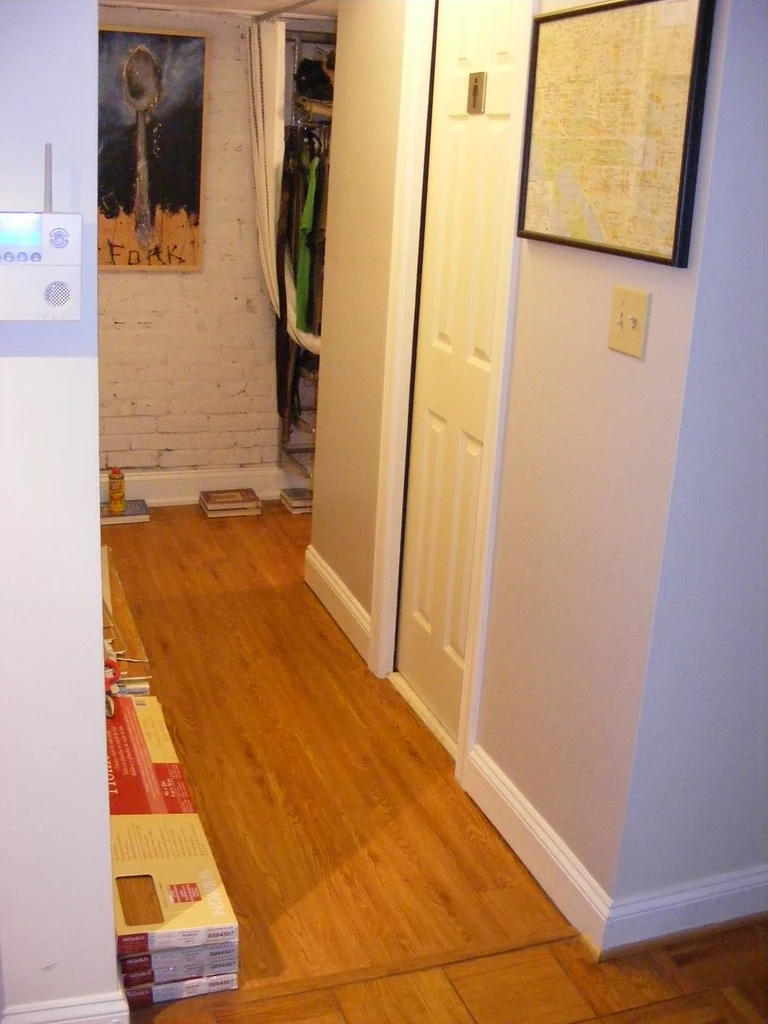
- Install transitions and trim after the last plank. T-molding for doorways, reducers for carpet or wood transitions, and quarter-round base covers the perimeter expansion gap.
Mistakes to Avoid
Mistake #1: Installing over an uneven subfloor. The single most common failure — bumps telegraph through the plank surface within weeks. Measure with a 10-foot straightedge across the whole room before you start, and fill anything over 3/16 inch with Henry 4005 or a comparable leveling compound.
Mistake #2: Skipping the expansion gap. Without a 1/4–1/2 inch gap at every wall, boards lock against the perimeter and have nowhere to go when they expand in summer heat — the floor buckles within the first warm season. Cover the gap with base and quarter-round, not caulk.
Mistake #3: Wrong direction of cut. Cutting against the wood grain line on the plank face leaves a splintered edge that chips and lifts under foot traffic. Always cut with the grain direction (running lengthwise) and use a fine-tooth utility knife or jigsaw blade, not a straight utility knife across the grain.
Mistake #4: Joints aligning on a single row. If row 2 joints line up with row 1 joints, the seam pattern looks amateur. Stagger every joint by at least 12 inches from the joint in the row above and never place three joints in a straight vertical line.
Mistake #5: No transitions at doorways. Installing planks across a doorway without a T-molding or transition strip creates a height difference and can bind the door. Use a matching profile for each material change and leave the required thermal gap behind the strip.
Frequently Asked Questions
Q: Can I install vinyl plank flooring directly over concrete? Yes, but only over a clean, dry, and flat slab. Concrete needs a moisture test (plastic sheet + digital hygrometer for 48 hours showing under 75% RH) and a flatness test at 3/16 inch over 10 feet. If the slab fails the moisture test, use a moisture-retardant glue-down rather than floating.
Q: How long should vinyl plank acclimate before installation? 48 to 72 hours in the room is the industry standard per ACMA and most manufacturers. In rooms above 70% humidity or below 40°F, some manufacturers specify 5 days. Skipped acclimation shows up as buckling within the first warm season.
Q: Should I glue down vinyl plank or leave it floating? For most residential rooms, floating click-lock is the better choice — faster, easier to remove, and self-leveling over small bumps. Choose glue-down SPC only when you have concrete moisture issues, a full bathroom install, or commercial-grade traffic.
Q: Do I install vinyl plank before or after baseboards and trim? After the plank and its expansion gap. Install the planks first, leave the 1/4–1/2 inch perimeter gap, then install baseboard and quarter-round trim on top to hide the gap. Installing trim first traps the planks against the wall and forces buckling when the boards expand.
Q: Can I install vinyl plank over existing hardwood flooring? Yes, if the hardwood is structurally sound, flat, and free of loose boards. Confirm with a 10-foot straightedge that the total surface stays within 3/16 inch of tolerance, and add the underlay to compensate for minor dips. Do not install over warped or cupped boards.
Q: What happens if vinyl plank telegraphs the subfloor? You see the subfloor's bumps through the plank's surface. Small deviations show up as visible ripples within weeks; larger deviations cause the plank to flex and the click-lock joints to loosen. The fix is to remove the plank, level the subfloor, and re-install — not to accept the telegraph.
Conclusion
For most homes, floating click-lock LVP over a 3/16-inch-flat subfloor with 48+ hours of acclimation and a 12-inch stagger pattern is the install method that works. Glue-down is the alternative for moisture-prone concrete, full bathrooms, and heavy-traffic commercial rooms. Level the subfloor, acclimate the planks, and stagger the joints — those three things decide whether the floor looks professional in a year or fails within a season. If you're covering more than 500 square feet or the subfloor is uneven past what a small self-leveler can fix, hire a licensed floor installer rather than doing it yourself.
Featured image credit: “New SBF Showroom Floor” by slaughterbeckfloors (CC BY 2.0, via Flickr).

