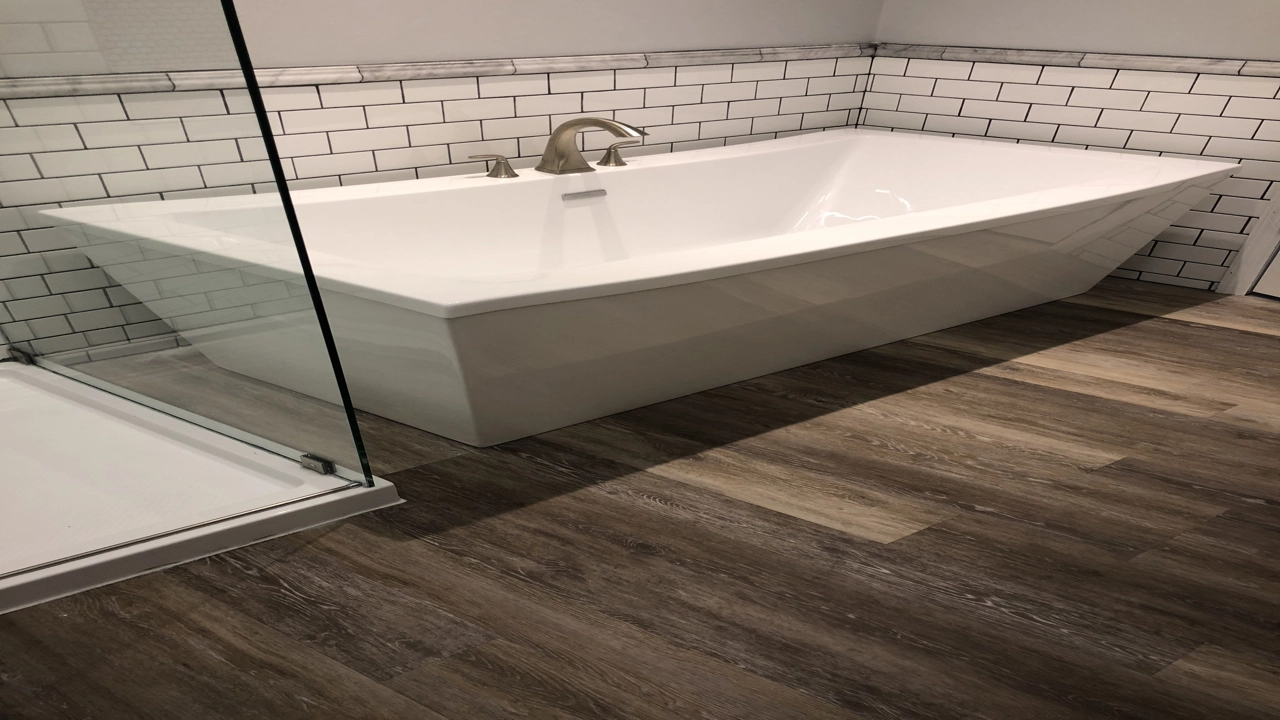
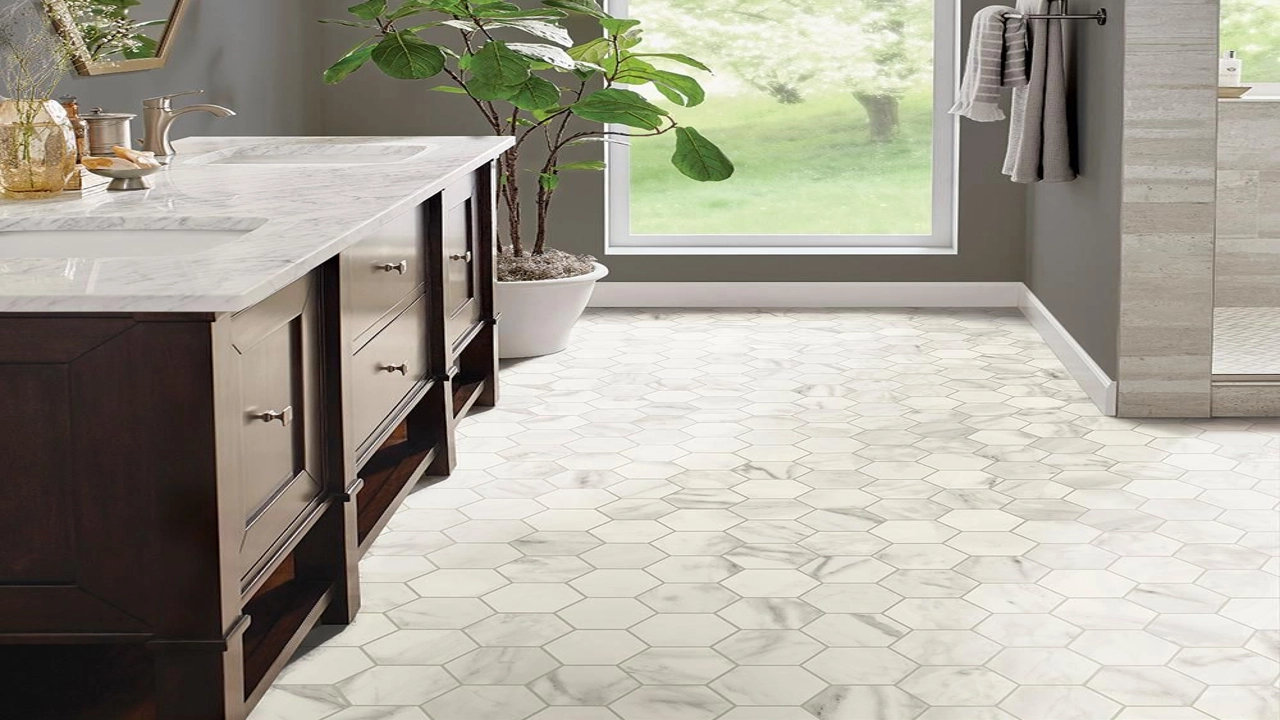
Peel and stick vinyl flooring is a type of vinyl floor with a sticky backing that bonds directly to a clean, smooth subfloor. You peel off the paper backing, press the tile or plank into place, and the adhesive holds it down without extra glue, nails, or click-lock joints. It is made for quick updates in rooms where you want a fresh look with simple tools and a short install time.
A house with a tired kitchen floor or a dull bathroom can feel new after a weekend with peel and stick vinyl. The floor is thin, light, and easy to cut with a utility knife, and a single box covers a small room. It works well for a first project, yet it still needs a flat subfloor and clean, dry air to hold for years, not only for weeks.
| Format | What it looks like | Install | Best rooms | Limits |
|---|---|---|---|---|
| Peel and stick tile | Square tile, often stone or checker look | Peel, place, press, trim at edges | Kitchen, bathroom, laundry, entry | Grout lines are printed, not real grout |
| Peel and stick plank | Long plank, often wood look | Peel, place in rows, stagger joints | Bedroom, living room, hallway, office | Joints can show if rows drift |
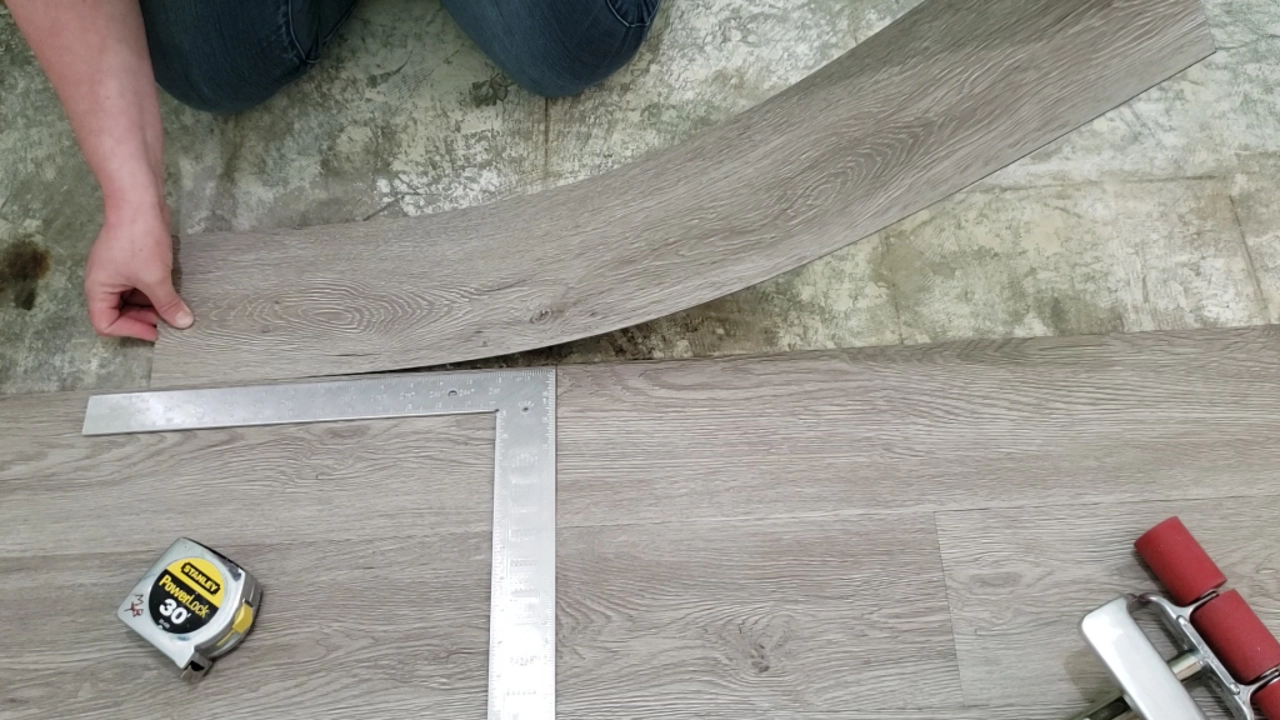
| Self-adhesive vinyl plank | Longer plank with stronger backing | Peel, place, roll flat, trim ends | Bedroom, living room, dining room | Needs a very flat, clean subfloor |
How Peel and Stick Flooring Works
Peel and stick flooring works by using a pressure-sensitive adhesive on the back of each tile or plank. The adhesive is covered by a paper backing, so the piece sticks only when you touch the backing to a surface. Once you press it firm, from the centre toward the edges, the adhesive bonds to the subfloor, and the tile or plank stays in place.
The bond works best when the subfloor is flat, clean, dry, and smooth, so the adhesive can contact almost every part of the back of the tile. The best results come from a floor that is level within a few millimetres, free of dust and wax, and firm underfoot. The reader may find this floor easy to lift at first, but once the adhesive bonds, it is not made to be moved. Make sure the floor is clean before you start, and never fit it over a damp or rough subfloor. You can learn more about the wider range of options in the guide to the best vinyl flooring to compare materials and uses.
Peel and Stick Floor Tiles vs Planks
Peel and stick floor tiles and planks look different, and each suits a different room. A tile gives a square, hard edge and can copy stone or checker in a kitchen or bathroom. A plank gives a long, straight line that feels like wood and is easy to lay in a row. A tile often has a printed grout line, while a plank often has a groove at the edge to mimic a wood joint.
The install differs in small ways that matter. A tile needs the room to be square, or the pattern shows the drift. A plank needs the joints to be staggered, so the floor feels less like a run of dominoes. A tile is easy to replace when a piece is damaged, because you can heat it and lift it. A plank is less easy to take out in the middle of a row, so cut and patch carefully.
A tile also feels firmer underfoot, while a plank can feel softer, especially in a room with a little flex. Both are thin and light, and both need a flat subfloor to avoid a raised edge. If the subfloor is uneven, one tile can lift a little and let the edge show, while a plank can sink in a low spot.
Stick On Vinyl Flooring: Where It Works
Stick on vinyl flooring works best in rooms where a quick fix is what you need, and the floor will not be asked to take a lot of water or heat. A bedroom, a small office, or a living room is a good fit for a stick-on floor, since it is less likely to face a leak or a hot stove. A kitchen or a bathroom can suit it too, but only when the floor is dry, well sealed, and free of steam.
A room with dust, rough wood, or old glue is a poor match for stick-on flooring, and a room with a damp subfloor is a worse one. In such rooms, the tile may lift and curl and leave a line. A room with a wet floor, such as a wet room or a shower area, is not a fit for peel and stick products, and it would be smarter to use a sheet vinyl floor that is fully glued down. If you want a room with a strong pattern, such as checker or a brick bond, the guide to vinyl flooring patterns is a useful place to start.
Choose stick-on vinyl flooring for a room where the floor gets light to moderate foot traffic and where a low-cost update is the aim. If the room is a laundry or a utility room with a drain nearby, use a product made for that space and seal its edges. If the room is a hallway with a lot of foot traffic, a thicker, stronger vinyl floor may be a better long-term choice.
Self Adhesive Vinyl Plank Flooring
Self adhesive vinyl plank flooring is a type of vinyl plank with a strong adhesive backing already on the back of the board. You peel the backing, place the plank, and roll it flat, and the floor bonds at once. It does not need tools that spread glue, it does not need a click-lock join, and it does not need to be nailed down.
A self-adhesive plank has a stronger bond than a simple peel and stick tile, and it can work in a busy room for many years if the subfloor is flat and dry. It still needs a clean subfloor, and it still does not like water that seeps under a loose edge. The thicker wear layer also helps the floor stand up to daily wear.
A house with a lot of pets can suit self-adhesive planks well, since the floor is easy to clean and a single plank can be replaced when it is scratched or scuffed. Choose a plank with a strong wear layer, and keep a few spares in case a plank is damaged. If the subfloor has a low spot, the plank may dent or gap, so level the floor before you start.
How to Lay Peel and Stick Vinyl
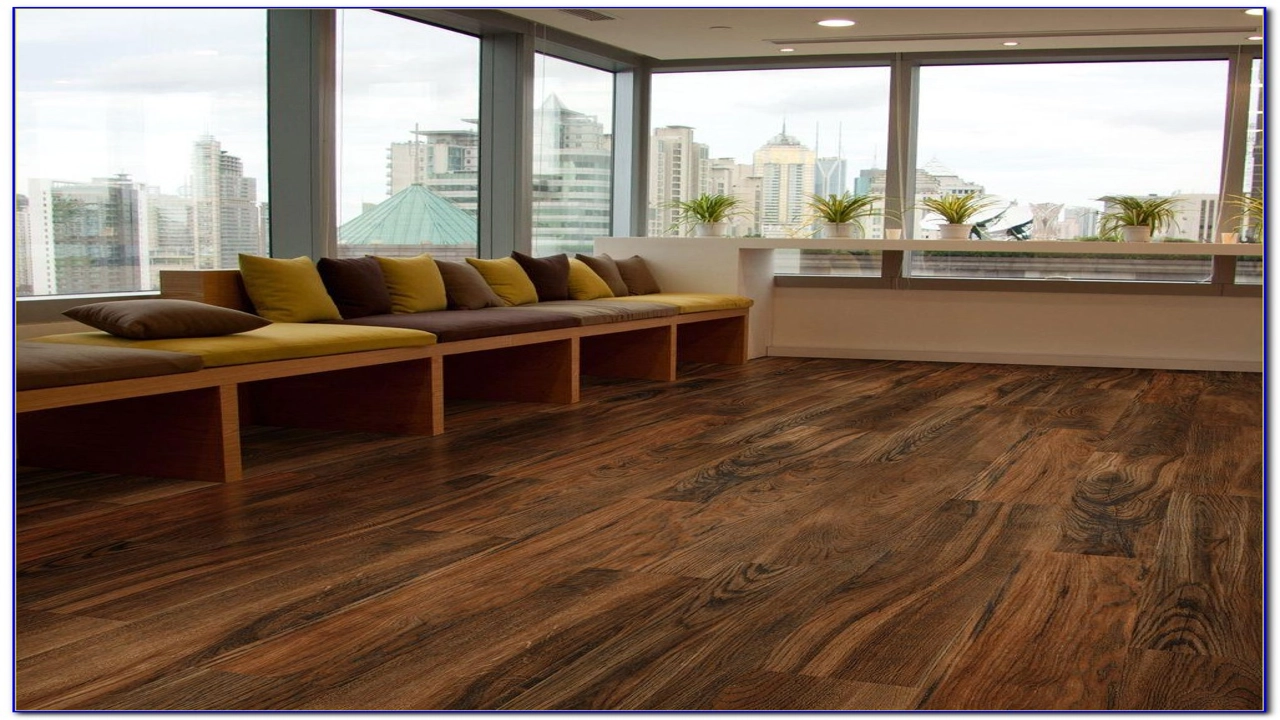
To lay peel and stick vinyl, start with a flat, clean, and dry subfloor. Clean the floor with a vacuum and a damp mop, and let it dry. Measure and mark the centre lines of the room, so the first tile or plank sits in the middle. Start along a straight wall or a chalk line, and work in rows, so the pattern stays neat.
Peel the paper backing part-way, and press the tile into place from the centre to the edges. Use a roller to press it firm, so air is pushed out and the adhesive bonds well. Keep the next piece tight to the first, and stagger the joints in the next row for a neat, stable floor.
Do not rush the edges. Use a straight edge and a sharp utility knife to trim a tile or plank, and keep your spare pieces for later repairs. If you want a fuller guide on steps and tools, the guide to how to install vinyl plank flooring is a helpful place to start, as it covers measuring, cutting, and keeping rows straight. If you later need to replace a damaged piece, warm it with a hair dryer, lift a corner, and peel it up.
What to Do When Peel and Stick Fails
When a peel and stick floor fails, it is often because the subfloor was not flat, clean, or dry. The tile may lift at a corner, the plank may curl, or the seam may gap and show a dark line. If you catch it early, you can lift the piece, clean the old adhesive area, and press a new tile down.
In some cases, the issue is damp or a lack of ventilation, and the fix is to improve airflow in the room or to fit a dehumidifier to dry the air. In other cases, the floor has been asked to take on more water or heat than it can, and a different floor type would be the better choice. If the floor is lifting at every seam, it may need to be replaced rather than patched.
FAQ: Peel and Stick Vinyl Flooring
Is peel and stick vinyl flooring really waterproof?
Peel and stick vinyl flooring is water resistant on the surface, yet water can reach the edges if it is left to stand or gets under the floor.
How long does peel and stick vinyl flooring last?
Peel and stick vinyl flooring can last for years when the subfloor is flat, clean, and dry, although it may not last as long as a thicker, glued-down vinyl floor.
Can I put peel and stick vinyl flooring on concrete?
Yes, if the concrete is flat, clean, and dry. Use a moisture test to confirm the surface is dry enough, as damp concrete will lift the adhesive.
Can I install peel and stick vinyl flooring over tile?
Yes, in many cases, if the tile is flat, clean, and free of cracks, though grout lines can show through thin vinyl.
Is peel and stick vinyl flooring safe for bathrooms?
Yes, if the floor is kept dry and well ventilated, and if the seams are sealed where water may sit.
Home > Tools > Flooring Box Calculator
Flooring Box Calculator
Enter your room size, pick a material, add waste, and find out how many boxes to buy. Free, no sign-up.
- Step 1 — Measure: measure the length and width of your room with a tape measure.
- Step 2 — Choose: choose what flooring you are buying and how it will be laid.
- Step 3 — Check the box: type the coverage written on your flooring box, and the answer appears.
No account, no payment, no technical knowledge needed. If you get stuck, press "Fill in an example" below and change the numbers to yours.
Step 1 — How big is your room?
How to measure: stand at one wall and measure to the opposite wall — that is the length. Then measure the other two walls — that is the width. Write feet and inches separately. Example: if the tape shows 12 feet 6 inches, type 12 in Feet and 6 in Inches.
Not sure where to start? Press the example button, see the answer, then change the numbers to your own room.
Any area to skip? (optional)
Example: a fireplace base or a fixed wardrobe that will NOT get new flooring. Leave this empty if the whole room gets flooring — most people leave it empty.
Step 2 — What are you buying, and how will it be laid?
Changing the material only changes the suggested waste percentage. Always follow your product's installation guide.
Step 3 — Check your box, then see the answer
Look on the box label. Example: if the box says "20 sq ft", type 20. Do not guess — every box is different. Without this number, the calculator can show the area but cannot tell you how many boxes to buy.
Only if you want a material-cost estimate. If you leave it blank, you still get the box count. Labor, underlayment and trim are not included here.
Save this project
Projects are saved in this browser only. No account, and nothing is sent to a server.
Your result
Enter a room size to see your result.
Totals are calculated before rounding. Displayed values are rounded to 2 decimal places.
Shop on Amazon (optional)
We do not recommend a specific product. Search Amazon yourself for the flooring you want.
As an Amazon Associate, we earn from qualifying purchases.
How to measure your room
Measure length and width in feet and inches, wall to wall, for each room. For an L-shaped room, split it into two rectangles that do not overlap, measure each one, and add them together. Measure closets and fixed features separately only if they will not receive flooring, and enter those as deductions.
How the calculation works
Net area = sum of room areas − deductions. Order area = net area + waste allowance. Boxes = order area ÷ coverage per box, rounded up to the next whole box, because you cannot buy part of a box. Two kinds of extra are shown separately: the waste allowance you chose for cuts, and the extra that comes from rounding up to whole boxes.
Worked example
Room 12 ft × 15 ft = 180.00 sq ft. With 10% waste, the order area is 198.00 sq ft. At 20 sq ft per box, you need 10 boxes (200.00 sq ft). The box-rounding extra is 2.00 sq ft, and the total extra versus your floor is 20.00 sq ft. Notice the two extras: 18.00 sq ft is the waste you chose, and 2.00 sq ft is only there because boxes come in whole units. If you add them together in your head as "20% extra", you will misunderstand your own order.
Waste allowance guide
Waste is not a fine or a guess — it pays for real pieces that get cut off and cannot be reused. The table below gives starting points only. Your product's installation guide always overrides these numbers, and a room with many doorways, angles, or short wall runs will need more than a plain rectangle.
| Layout | Starting waste | When it applies |
|---|---|---|
| Straight (planks/tiles in rows) | 10% | Most rectangular rooms, the default in this calculator. |
| Diagonal | 15% | Planks or tiles laid at an angle to the walls — far more edge cuts. |
| Herringbone / chevron | 20% | Patterned layouts where almost every edge piece is cut. |
More worked examples
These three examples use different room shapes, so you can check the calculator against numbers you can verify by hand before trusting it with your own project.
| Project | Net area | Waste | Order area | Boxes |
|---|---|---|---|---|
| Small bedroom, 10 ft × 12 ft, straight, box 20 sq ft | 120.00 sq ft | 10% (+12.00) | 132.00 sq ft | 7 boxes (140.00 sq ft) |
| L-shape living room, 20 ft × 15 ft + 10 ft × 8 ft, straight, box 25 sq ft | 380.00 sq ft | 10% (+38.00) | 418.00 sq ft | 17 boxes (425.00 sq ft) |
| Two rooms, 10 ft × 12 ft + 11 ft × 13 ft, straight, box 20 sq ft | 263.00 sq ft | 10% (+26.30) | 289.30 sq ft | 15 boxes (300.00 sq ft) |
Flooring material notes
Laminate: sold by the box with the coverage printed on the label — that label number is the only coverage figure this calculator accepts, because laminate boxes vary. Keep one spare box if you can: a future repair plank must match the same batch and colour.
Vinyl and LVP: plank sizes vary, so do not convert a vinyl order from a laminate order. Measure in sq ft as usual, then apply the waste percentage for your layout and check the LVP product guide — some manufacturers state their own extra percentage, and theirs wins.
Hardwood and wood: the same area maths applies, but hardwood orders often include extra for board selection and grading. If your supplier recommends a higher waste figure for the grade you bought, use the Custom waste option instead of the defaults.
Tile: this calculator gives you sq ft and boxes. It does not count individual tiles, grout, or adhesive — for tile counts and backsplash measurements, use the Tile Calculator, which is built for tile sizes and patterns.
Carpet: carpet is sold by the square yard, not the square foot (1 sq yd = 9 sq ft). In Carpet mode this calculator shows both, and for stairs you need the Carpet Calculator, because stairs are measured by tread, riser, and step count, not by floor area alone.
What this calculator does not do
It does not price your project in full. Labor, underlayment, trim and baseboards, old-floor removal, and delivery are separate costs — the Flooring Cost Estimator covers those. It also does not convert between square feet and linear feet for baseboards or trim — that is the Square Feet to Linear Feet Converter. Keeping each job on its own page is deliberate: one page that tries to do everything ends up doing none of them well, and search engines treat it as a generic page rather than the best answer for one question.
Common mistakes
- Confusing waste with box rounding: they are two different extras. This calculator shows them on separate lines.
- Entering inches as 12 or more: inches must be 0–11. Convert 12 inches to 1 foot first.
- Forgetting deductions, or using a preset box coverage instead of the coverage printed on your own box label.
Frequently asked questions
How do you calculate square feet for flooring?
Multiply length by width for each rectangular area, add the areas together, subtract any areas that will not receive flooring (deductions), then add a waste allowance. For example, a 12 ft by 15 ft room is 180 sq ft before waste.
How much extra flooring should I buy?
Start with 10% for a straight layout and 15% for a diagonal layout, then round up to whole boxes. Check your product guide, because it overrides any starting percentage here. The calculator shows the waste extra and the box-rounding extra separately, so you can see exactly where the extra comes from.
How many boxes of laminate flooring do I need?
Divide your order area (net area plus waste) by the coverage per box printed on the box label, and round up to the next whole box. This calculator does that step for you — but you must enter the coverage from your own box, because laminate boxes do not all cover the same area.
How much extra LVP flooring should I buy?
Use the same rule as above, starting at 10% for straight layouts, and confirm it against the LVP product guide. Diagonal LVP layouts start at 15%. If the guide states a different figure, use the Custom waste option and enter that figure.
What is flooring waste?
Waste is the extra flooring allowed for cuts at walls, around doorways, and for damaged or unusable pieces. It is a real cost of installation, not a safety margin invented by sellers. It is different from the extra that comes from rounding up to whole boxes.
Do I need to add waste for a straight layout?
Yes. Even a straight layout needs cuts at the edges of every room, so 10% is the usual starting point. A perfectly rectangular room with no doorways still loses pieces at the last row of every wall. Diagonal and herringbone layouts need more because more pieces are cut at angles.
Why are boxes rounded up instead of down?
You cannot buy part of a box, and rounding down would leave you short of the order area. Rounding up guarantees you have at least the order area, plus a small remainder you can keep as spares for future repairs. That remainder is shown as the box-rounding extra, not hidden inside the waste figure.
How do I measure an L-shaped room?
Split the L-shape into two rectangles that do not overlap, measure each rectangle, and add the two areas together. In this calculator, choose L-shape mode and enter both rectangles — the tool adds them and applies waste to the combined area, not to each rectangle separately.
Last updated: 26 October 2026. Waste percentages are starting points; your product's installation guide overrides them.
Related tools
Conclusion
Peel and stick vinyl flooring is a simple, low-cost way to give a room a fresh, clean look. It works best when the subfloor is flat, dry, and smooth, and when you give it the time it needs to be measured, cut, and pressed into place.
Plan the layout carefully, keep the room dry, and let the floor guide you through the install. If you choose well, your new floor will feel like part of the home from the first day.